continued from page 2
more dessert table layout ideas
in this section
03 arranging your desserts
summary
MATT’S TIPs

step one
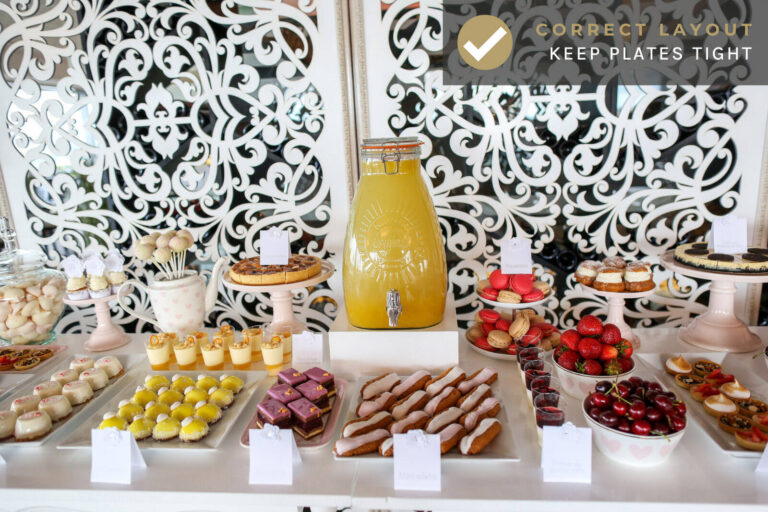
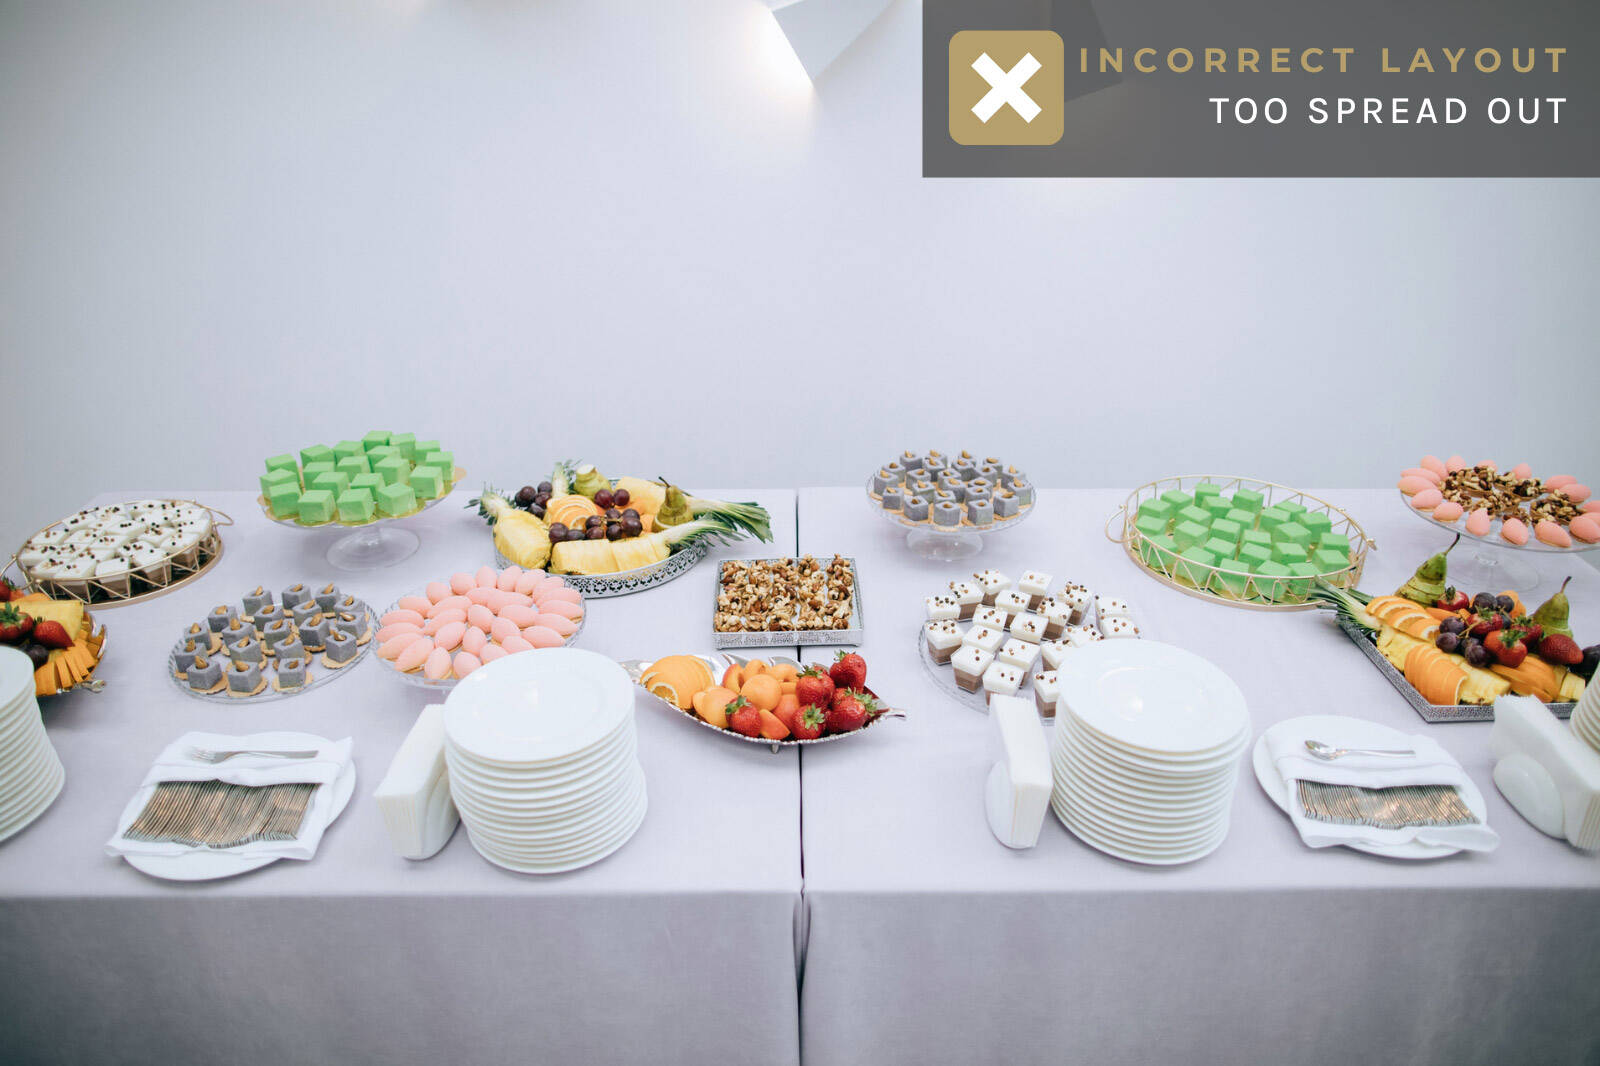
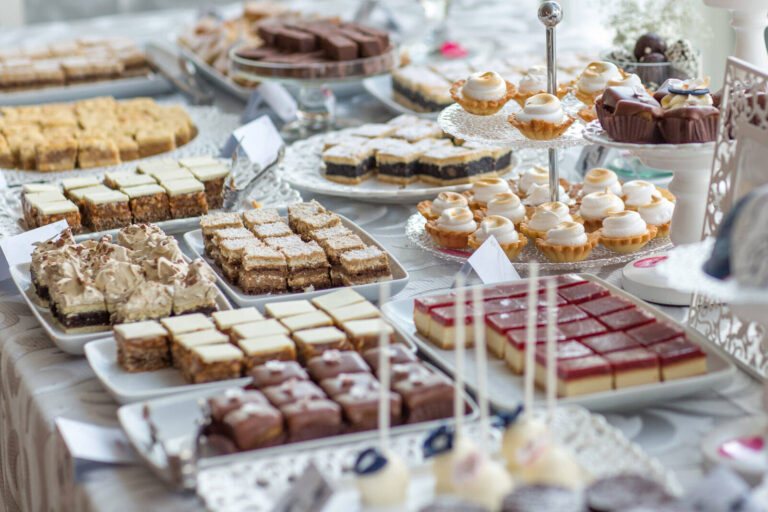
keep it tight
When placing serving trays and display stands, kept everything tight and compact; you want it to look dense and plentiful.
A common mistake is to spread things out too much to try to fill the table and make it look full. This actually creates the opposite effect; the gaps make the treats look like they’re spread too thin and creates the impression there may not be enough to go around.
step two
Think in Rows
Initially, it can help to think of the depth of your dessert table divided into rows, running from back to front.
Start by marking out the back and front rows using ‘placeholder’ serving trays or display stands.
Then, decide how many additional rows you have space for in between and mark these out with placeholders too.
Later, we’ll vary the orientation of some serving trays to cut across the rows so they aren’t so rigid.
step three
back row
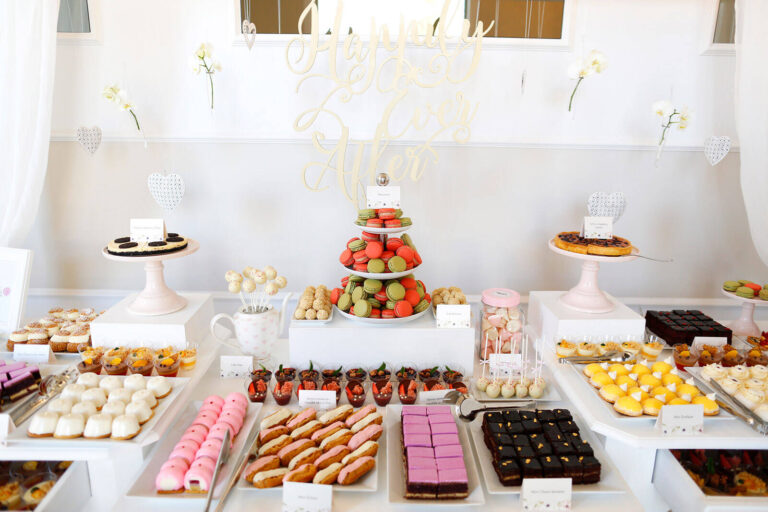
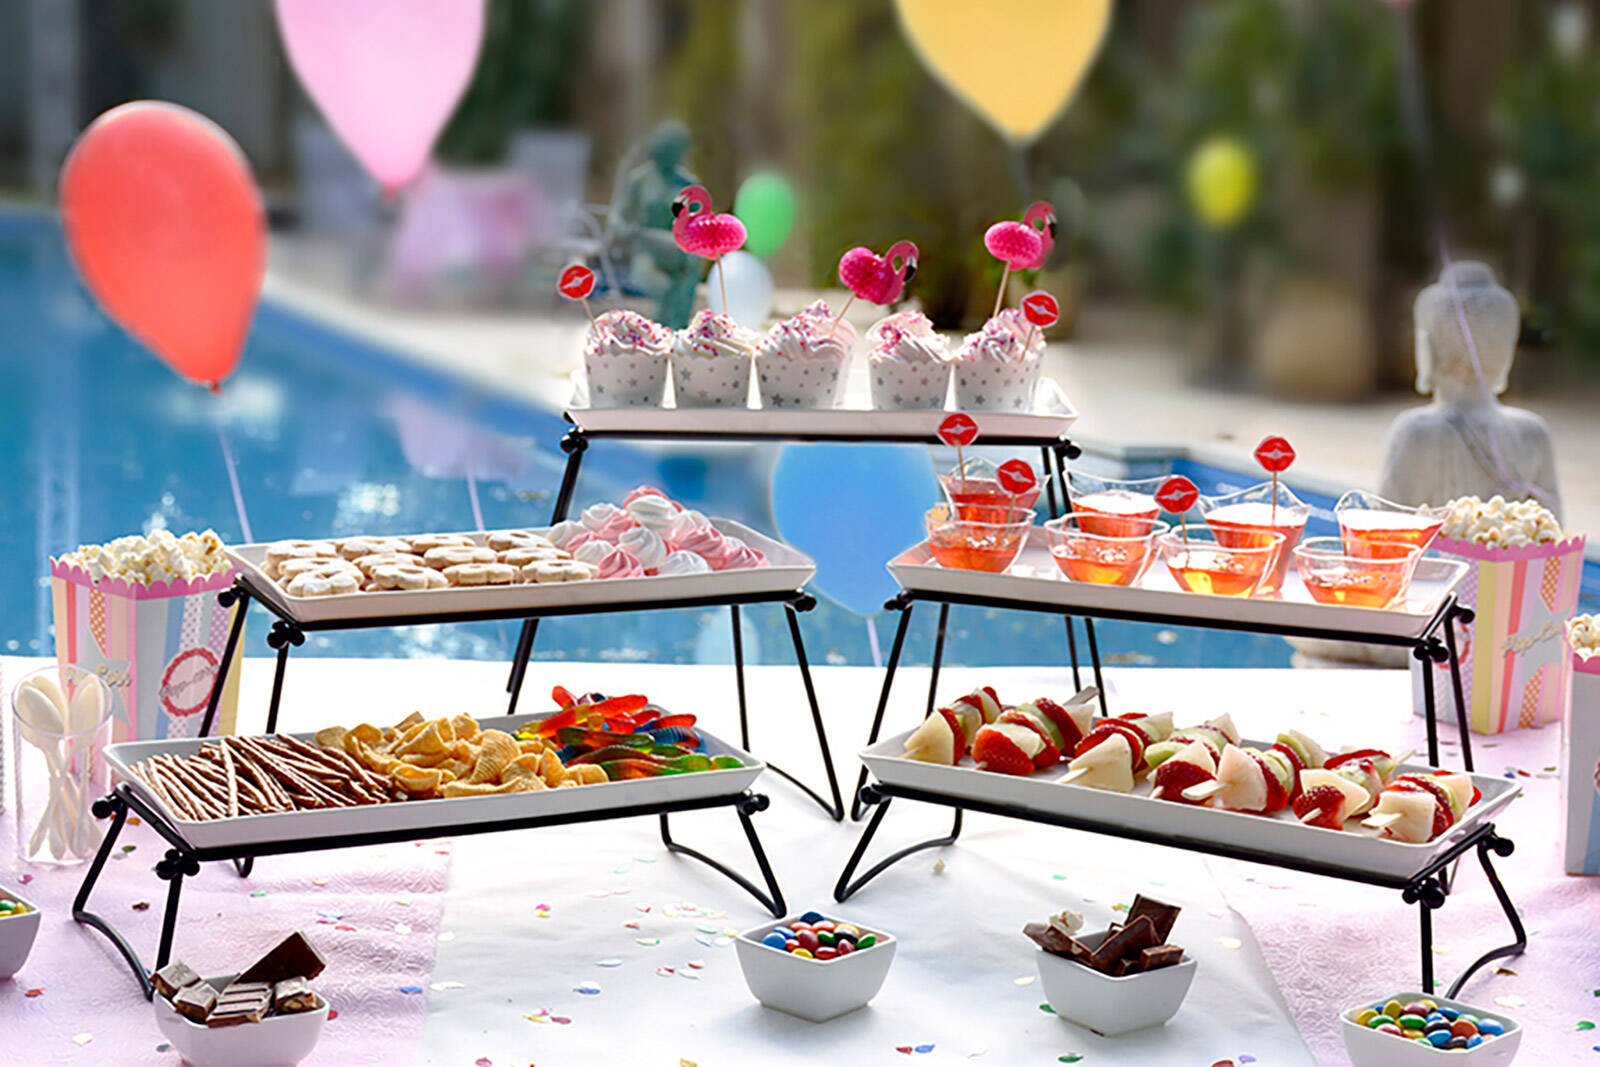
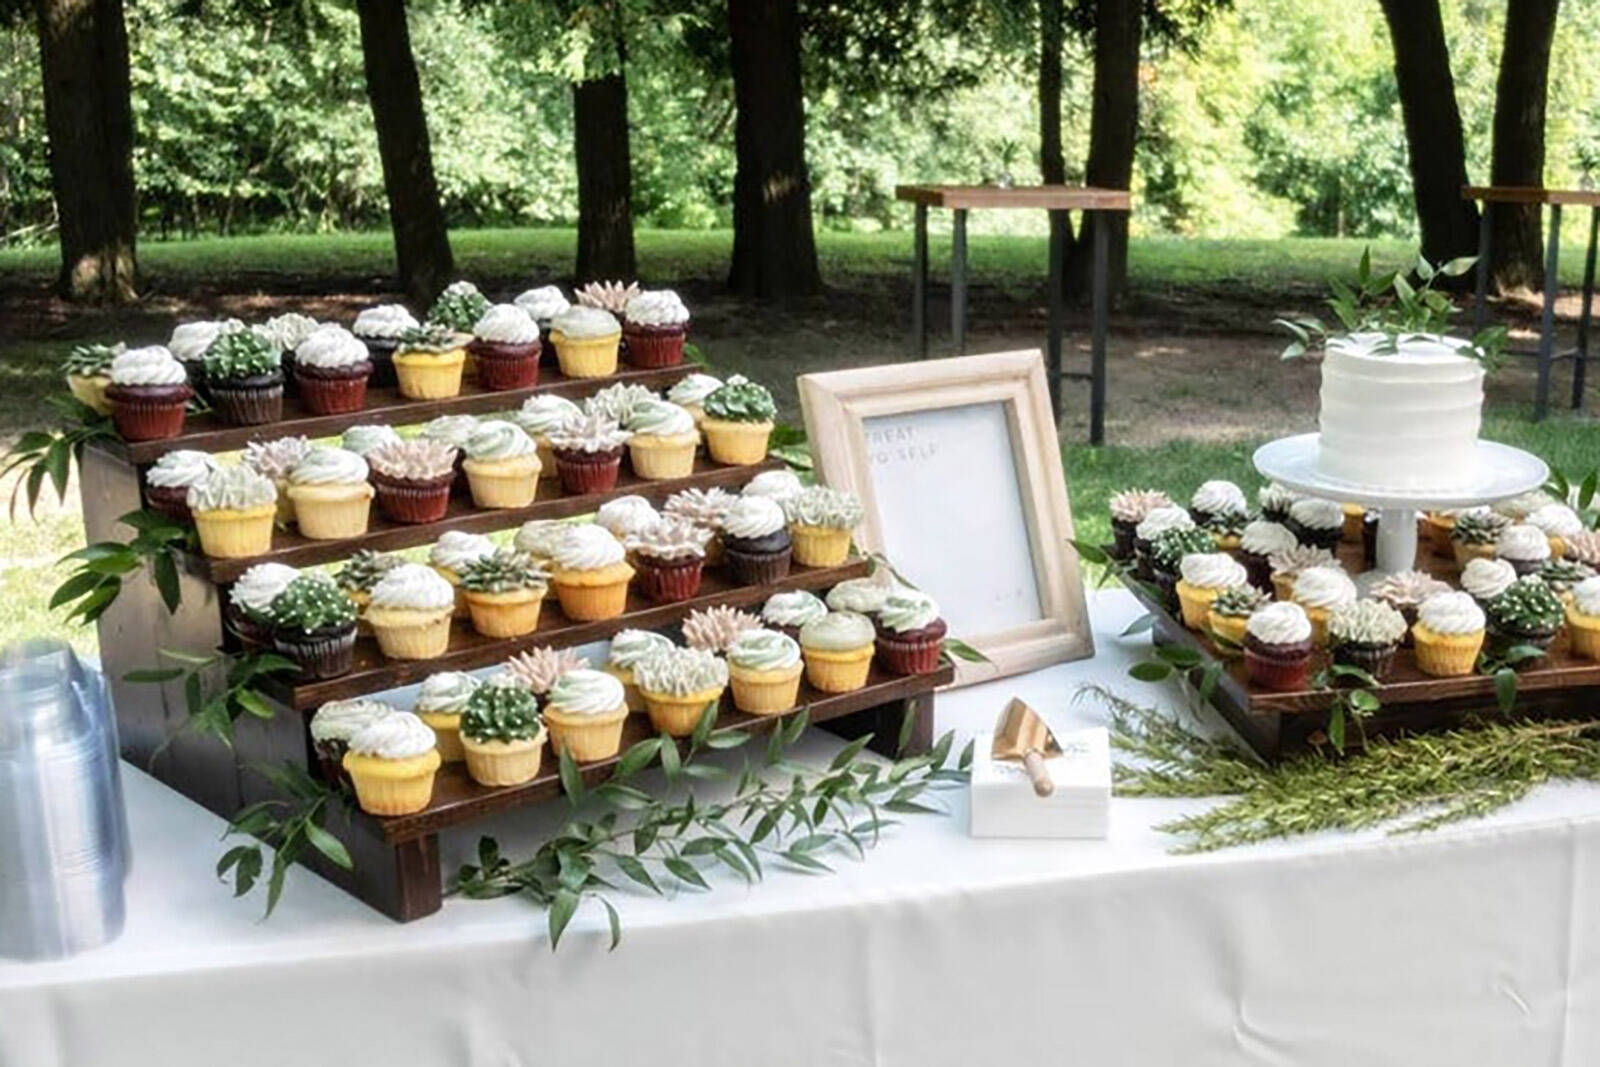
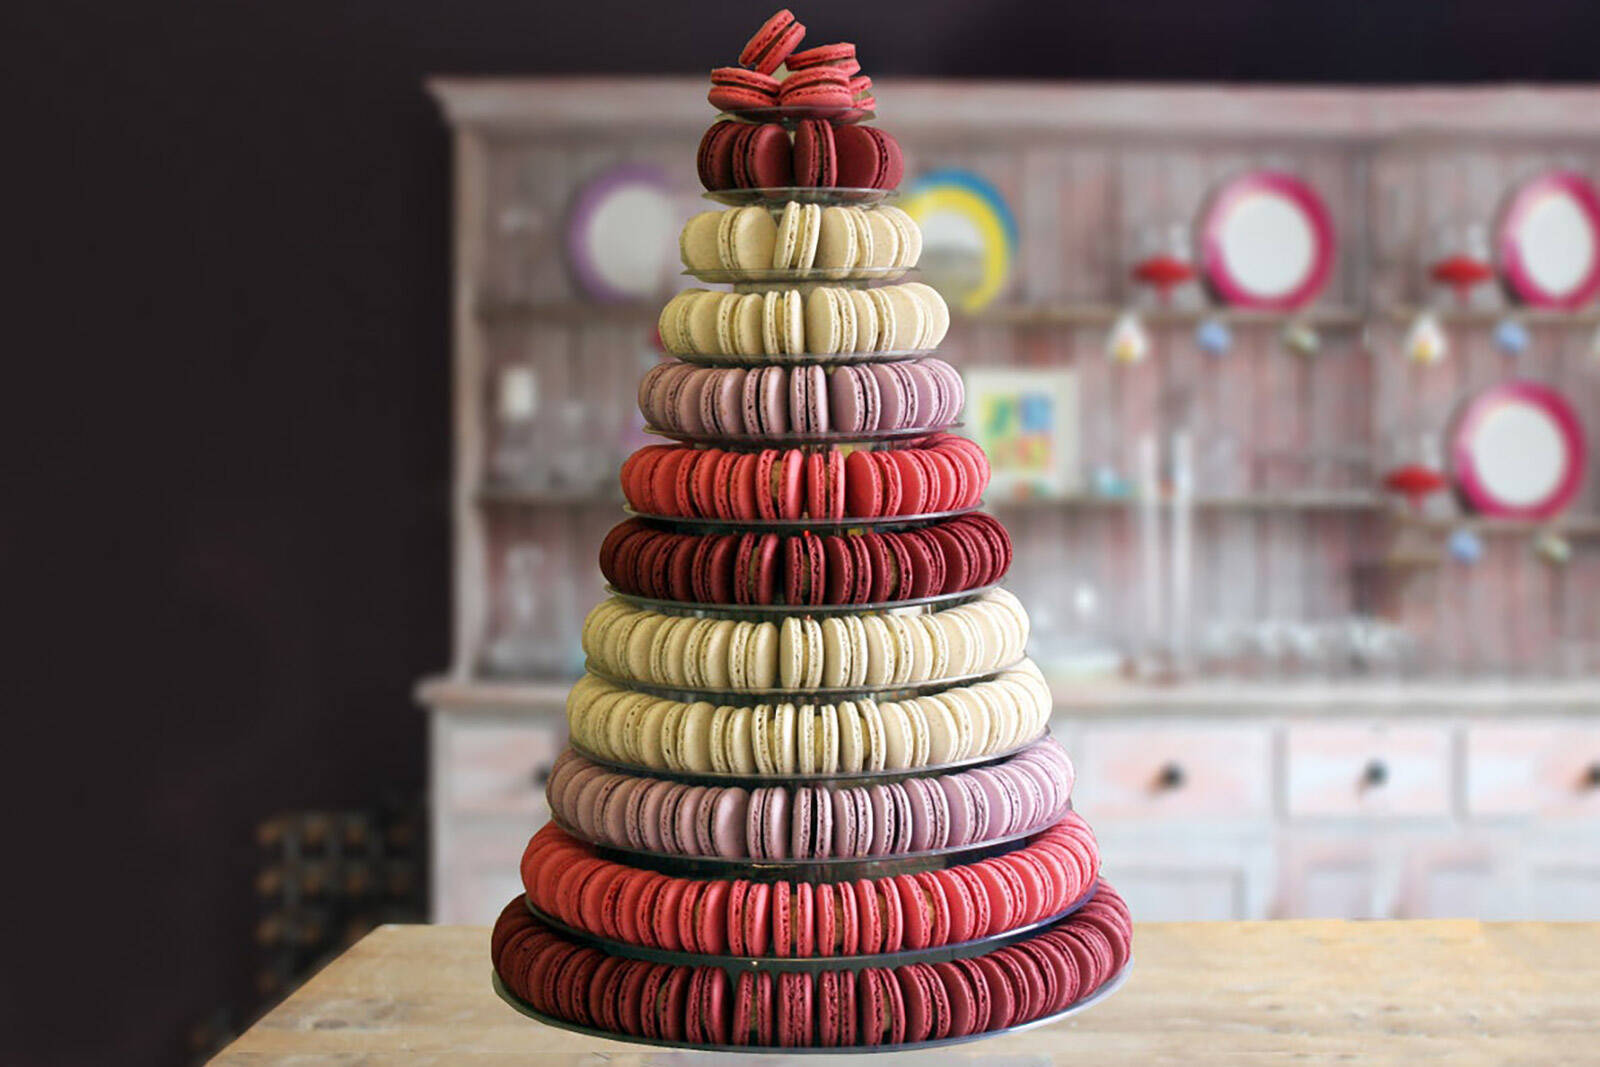
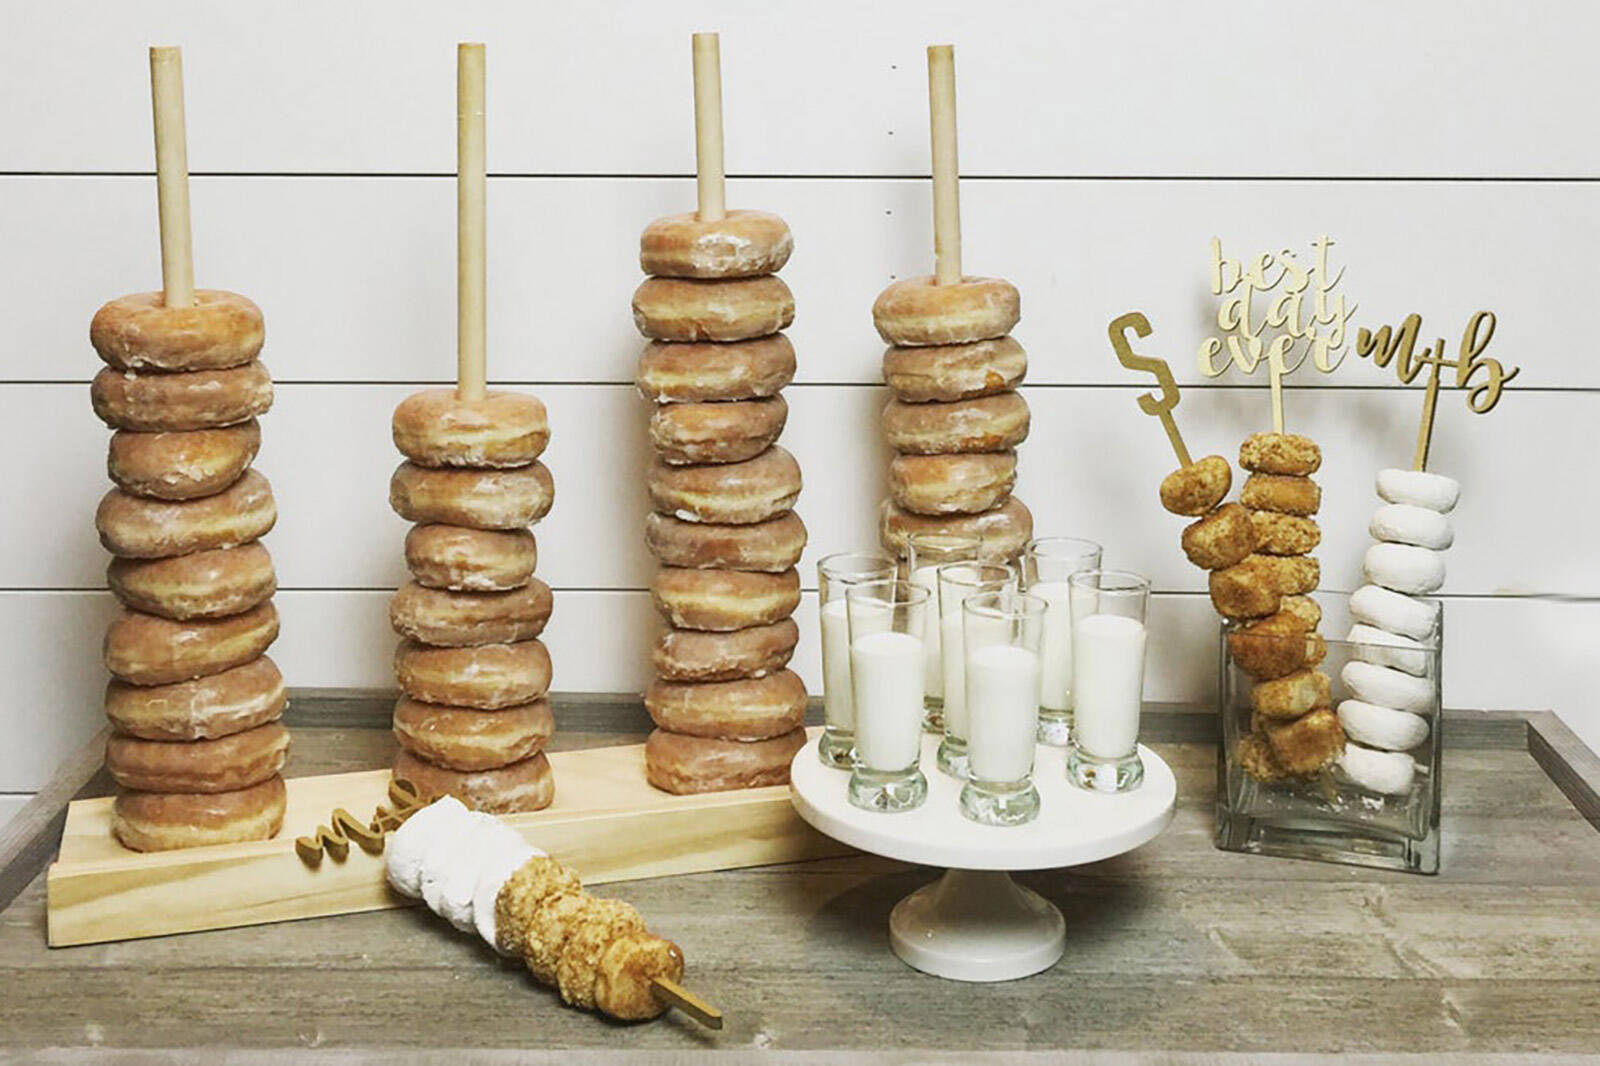
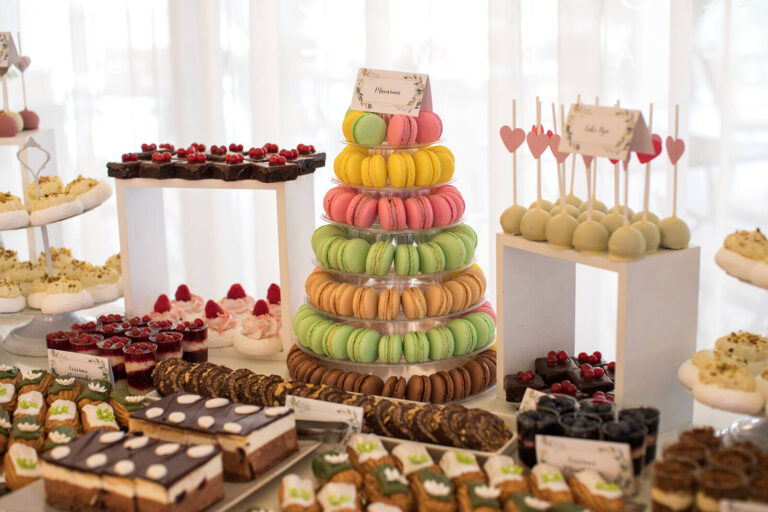
Position your tallest display stands in the back row or create an entire raised back row using risers (or boxes wrapped in fabric or gift wrap that matches your color scheme).
Then think of your rows as cascading levels, running from the back to the front of the table, to create a minimum of three different height levels.
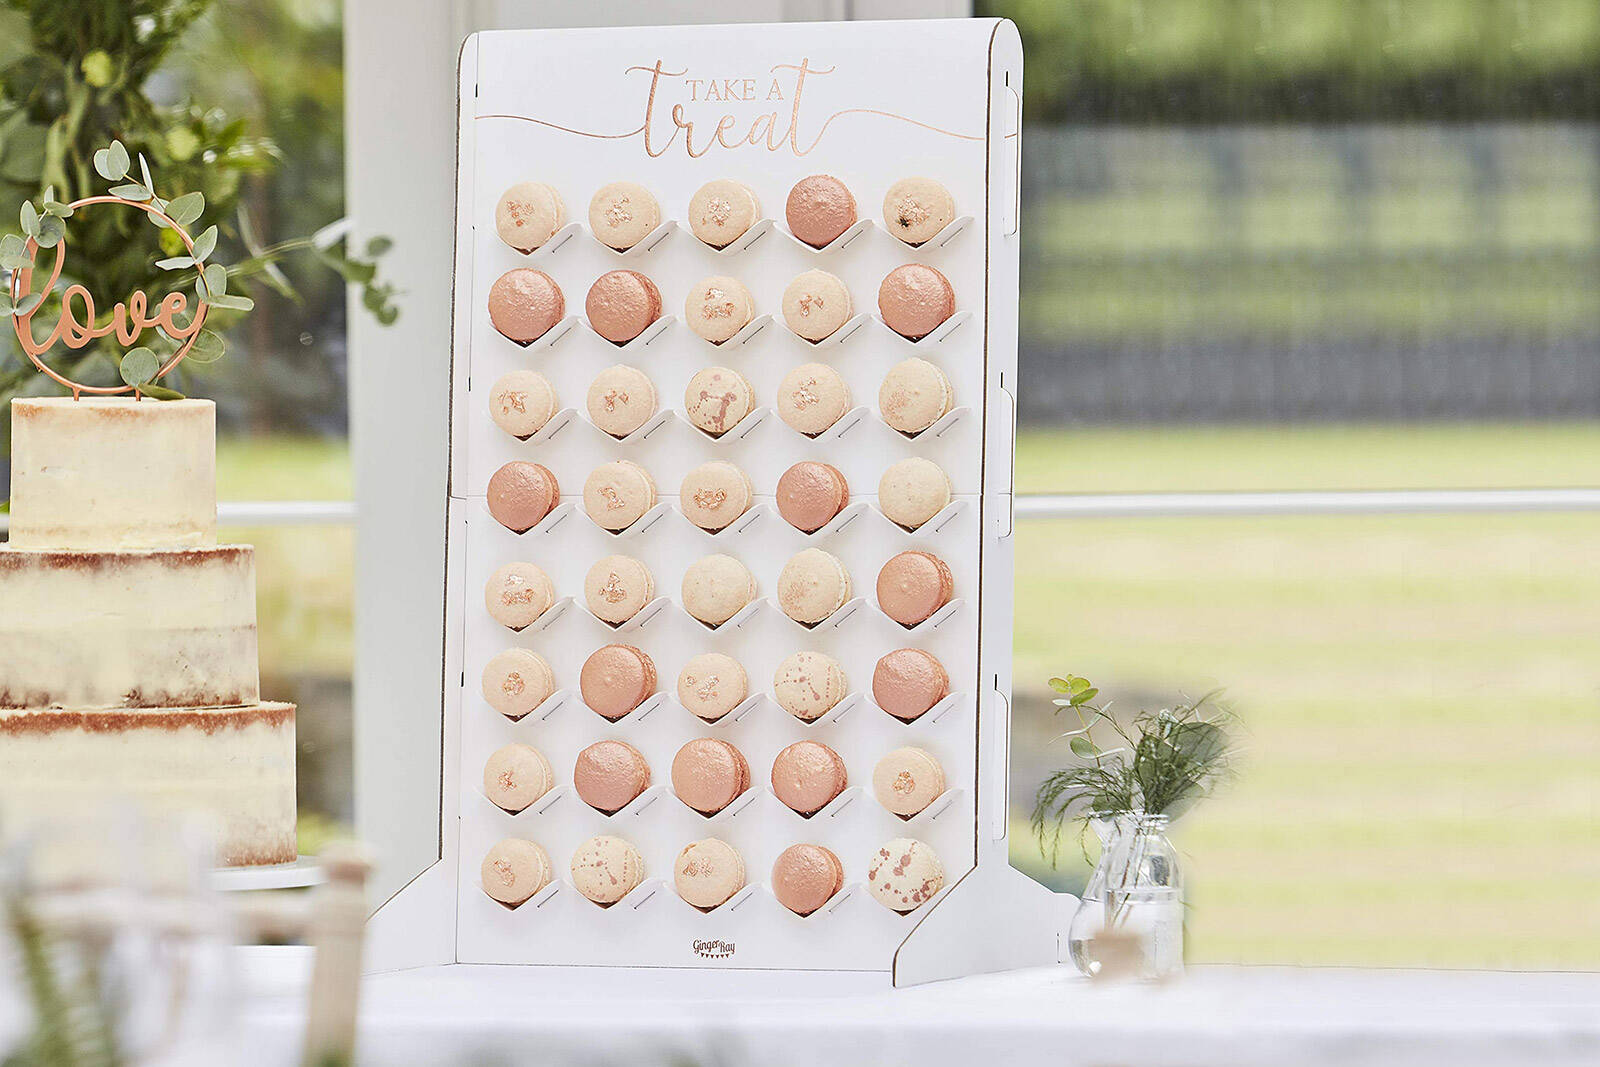
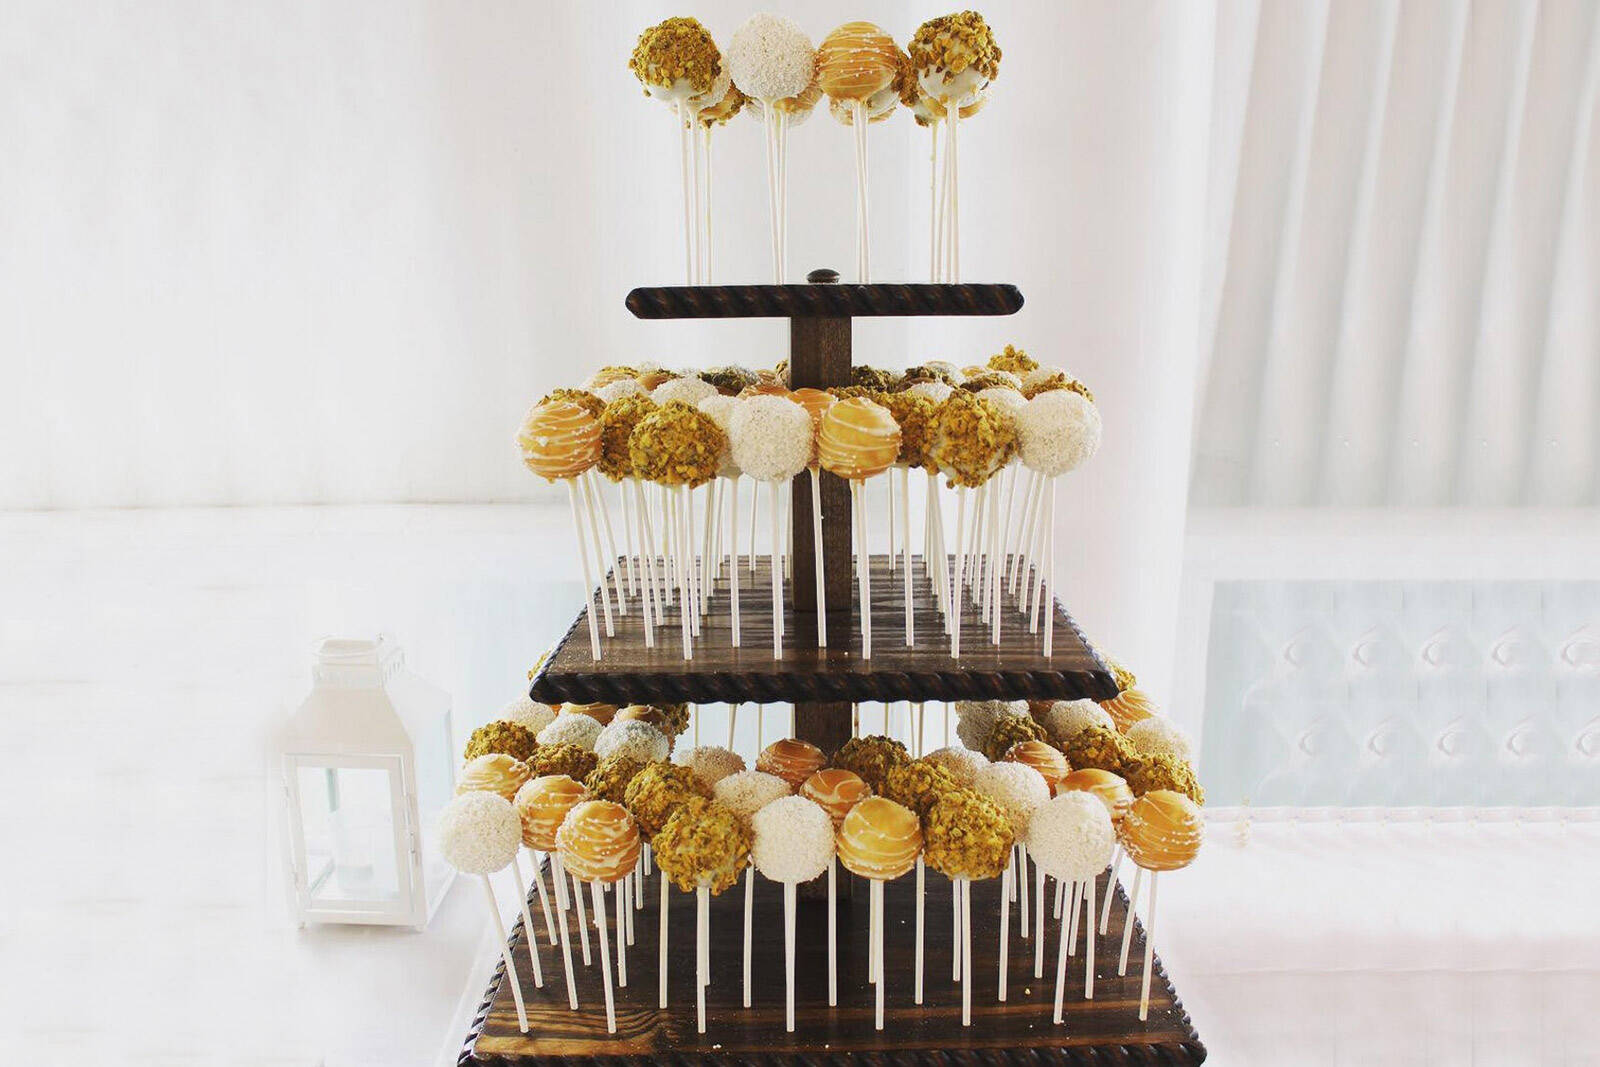
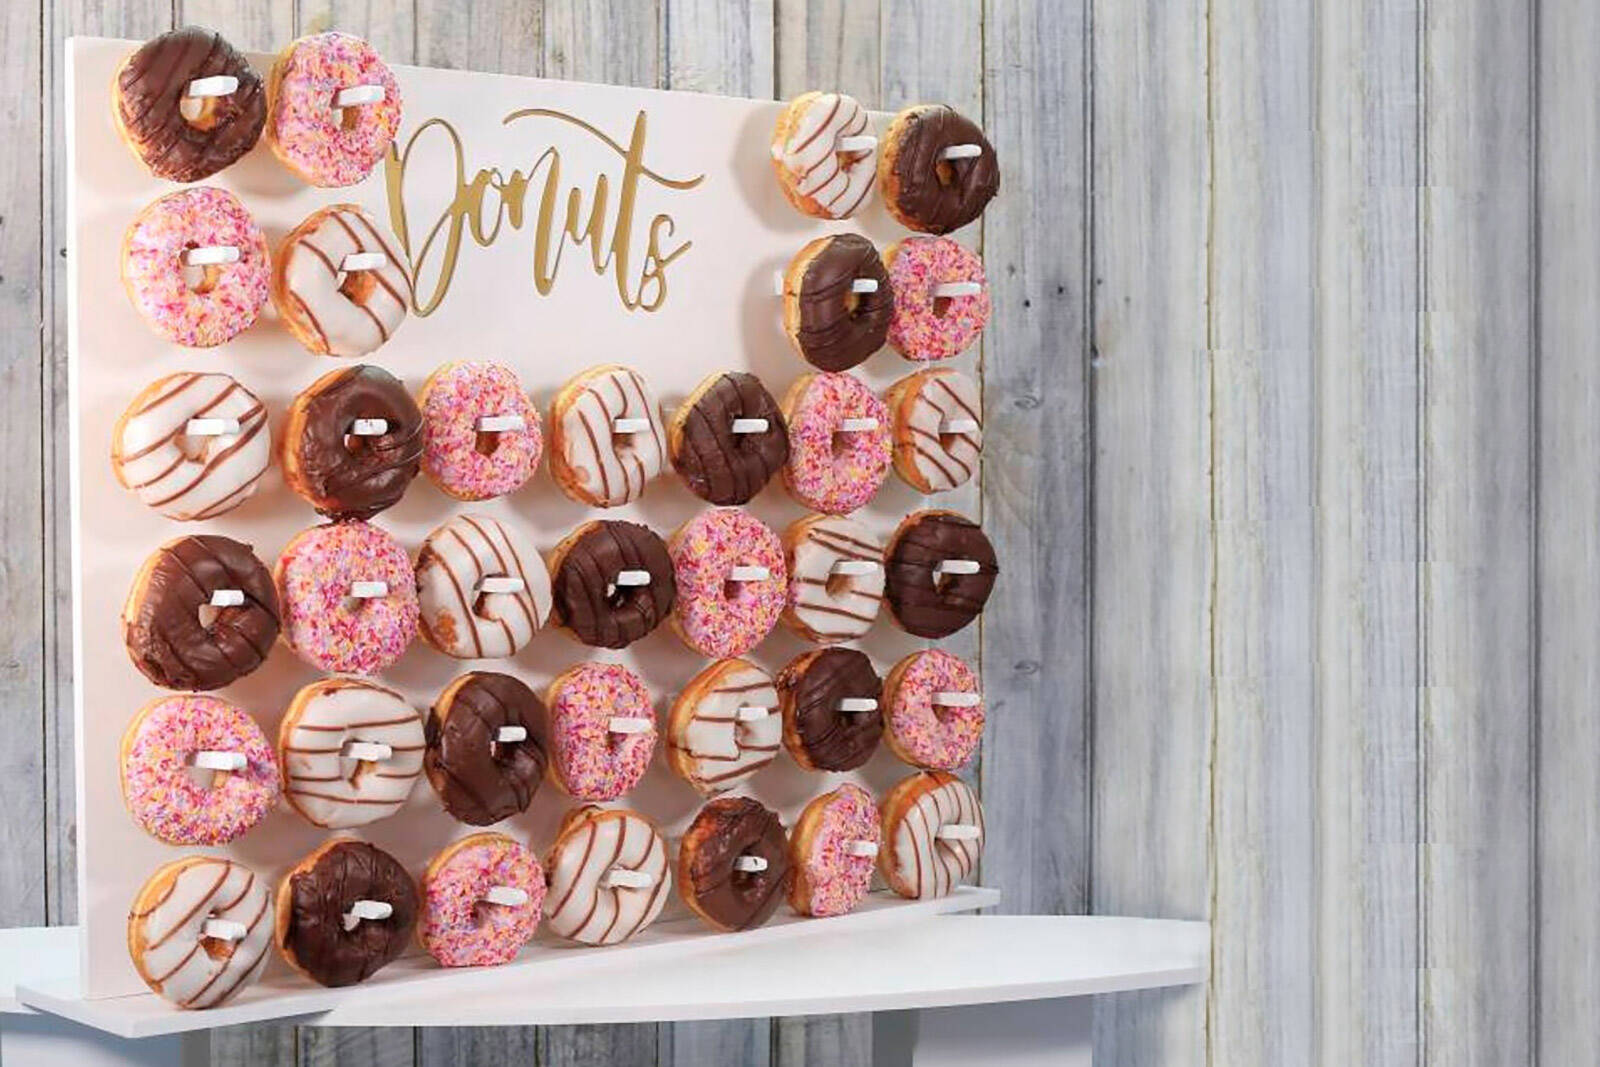
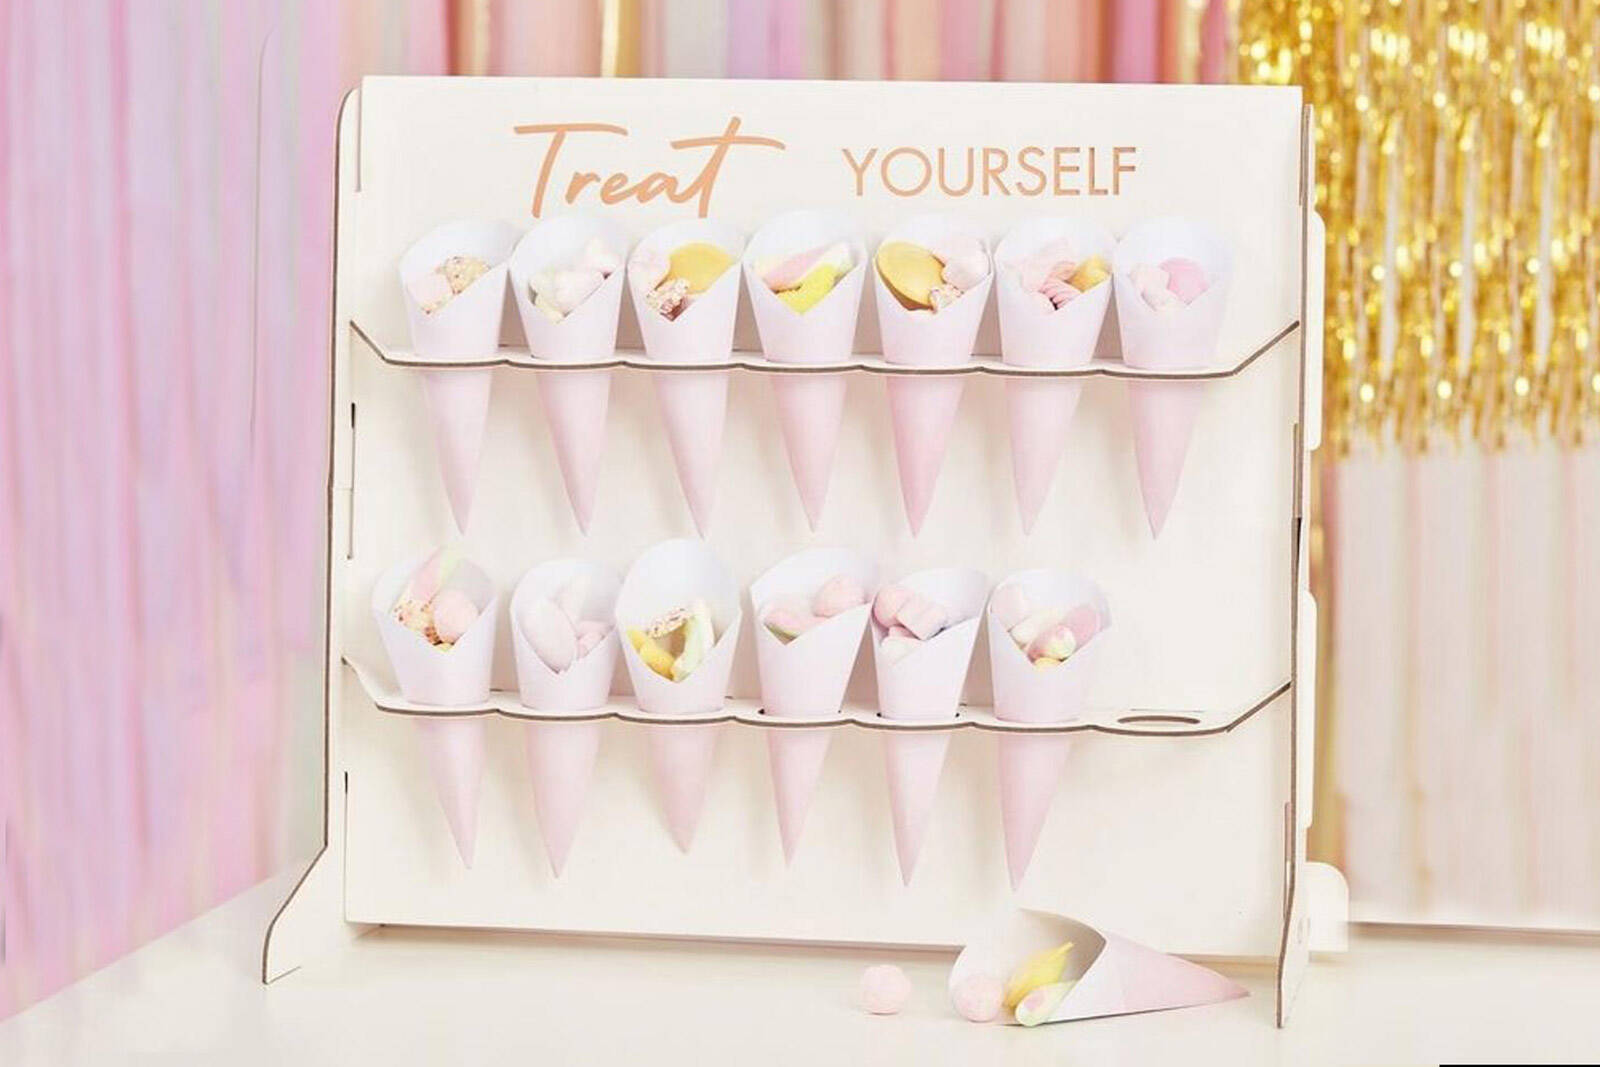
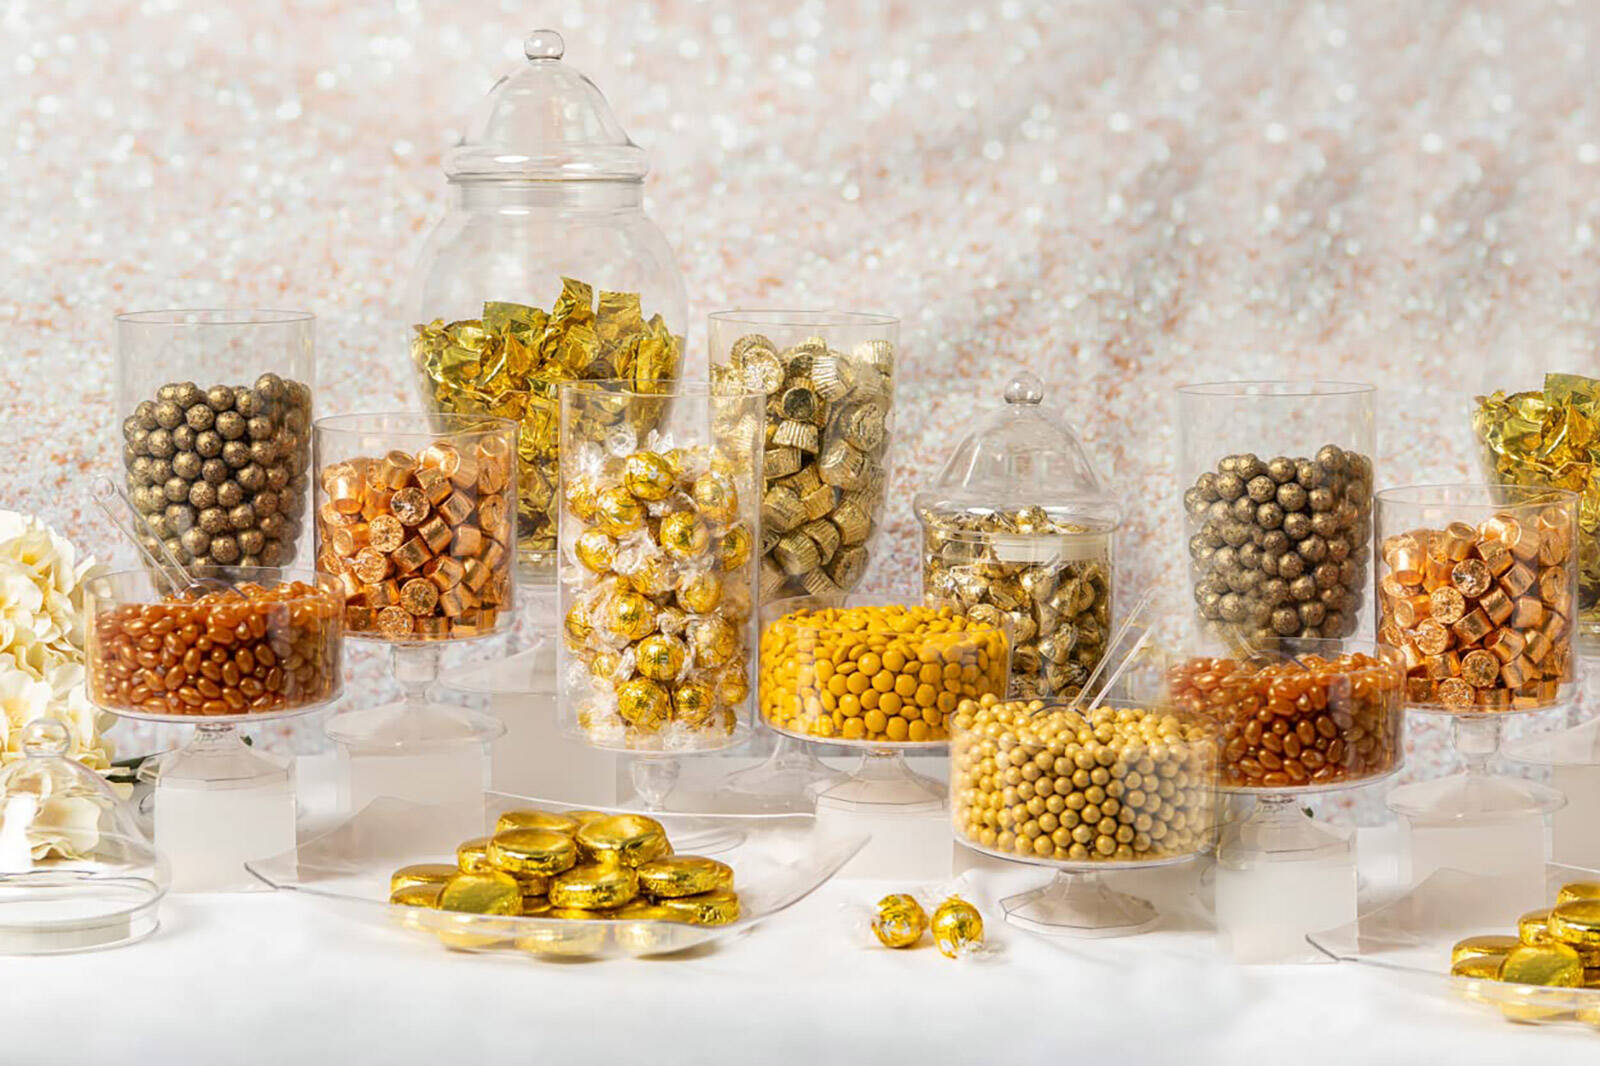
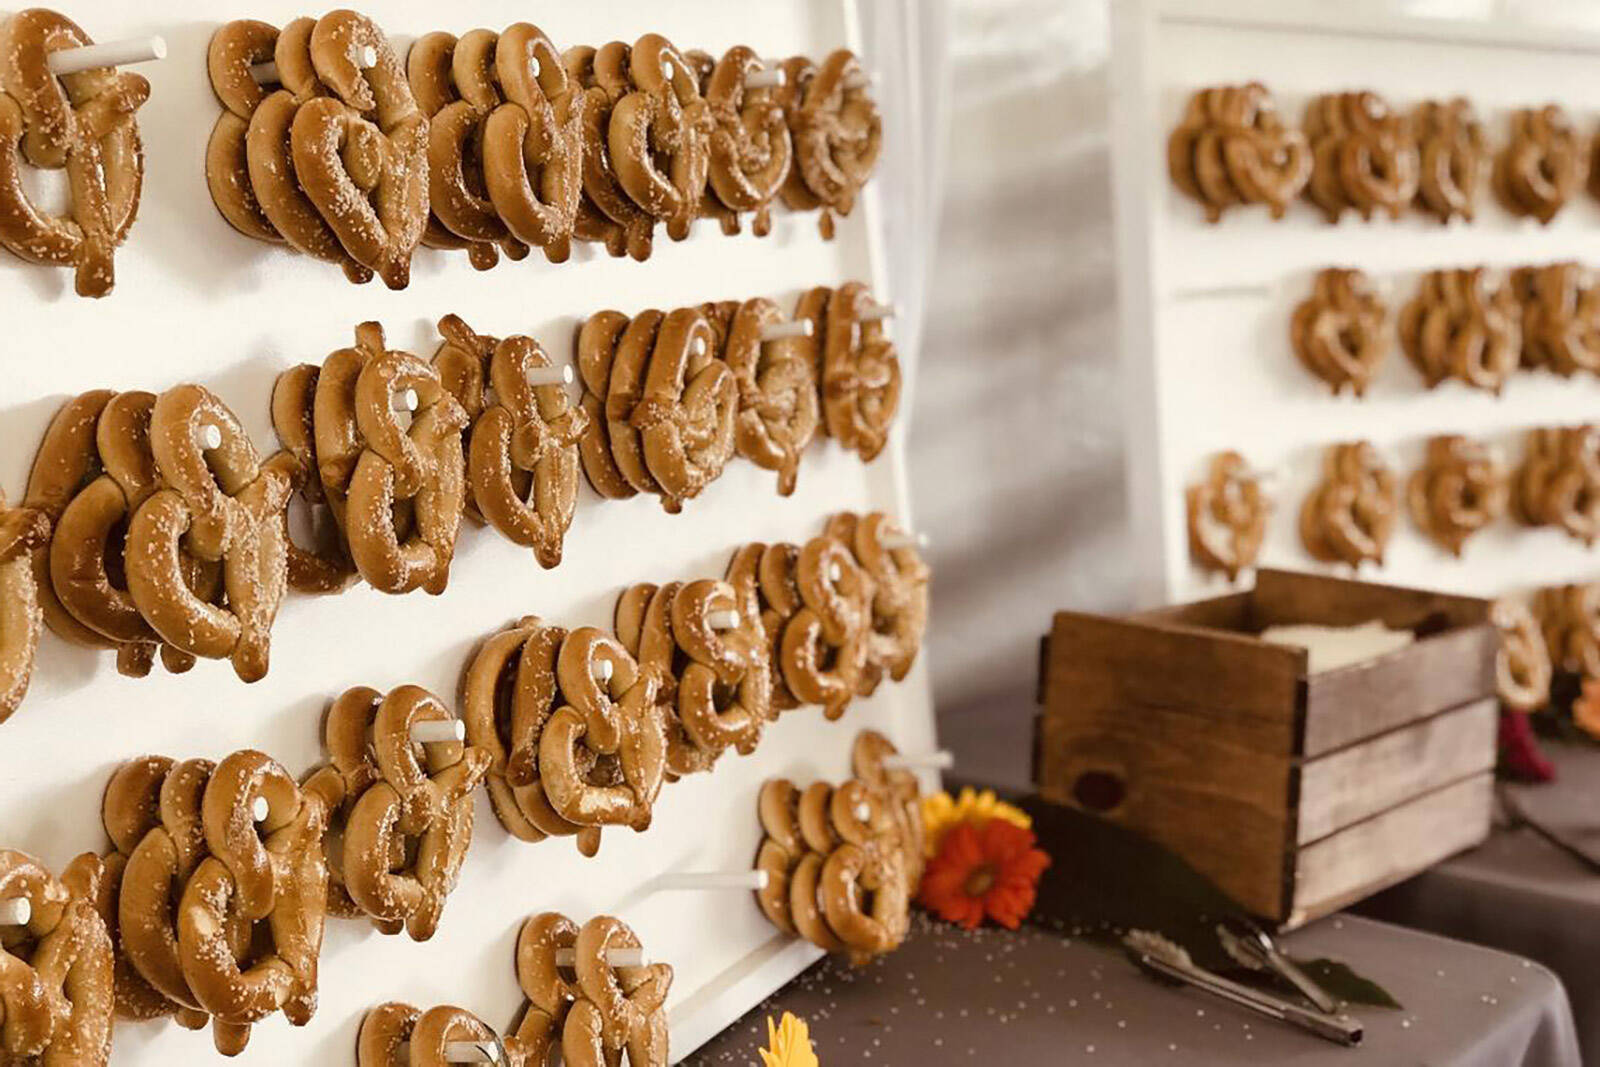
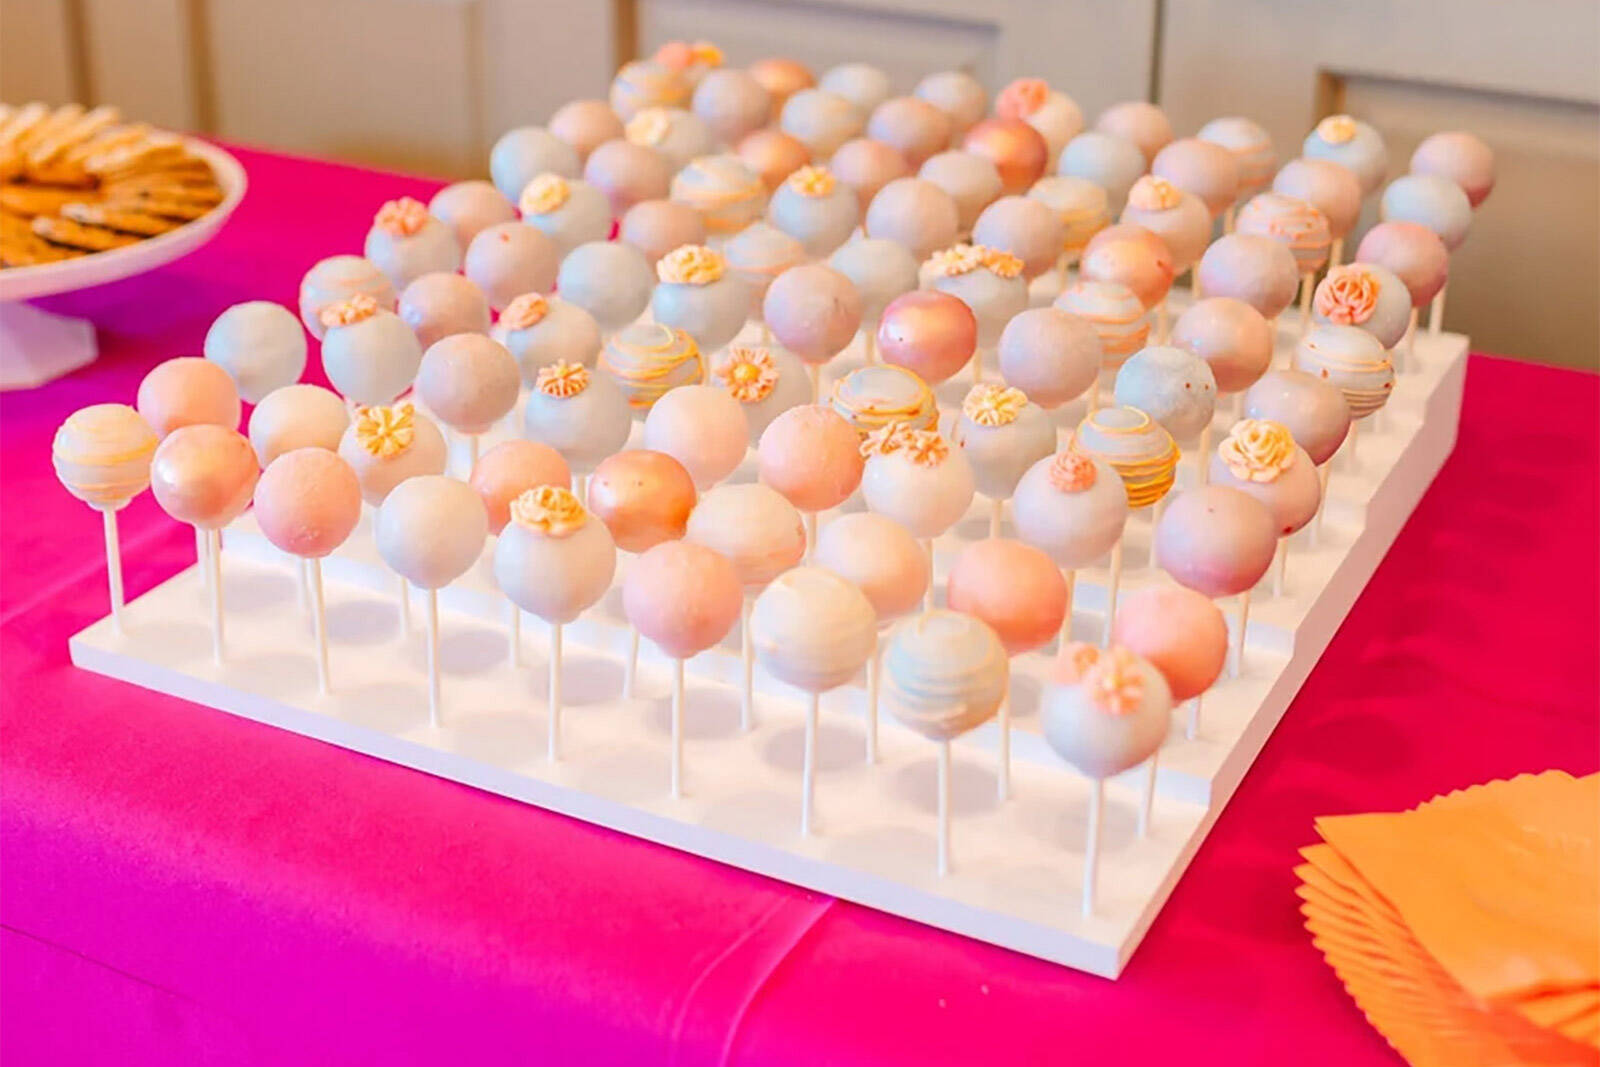
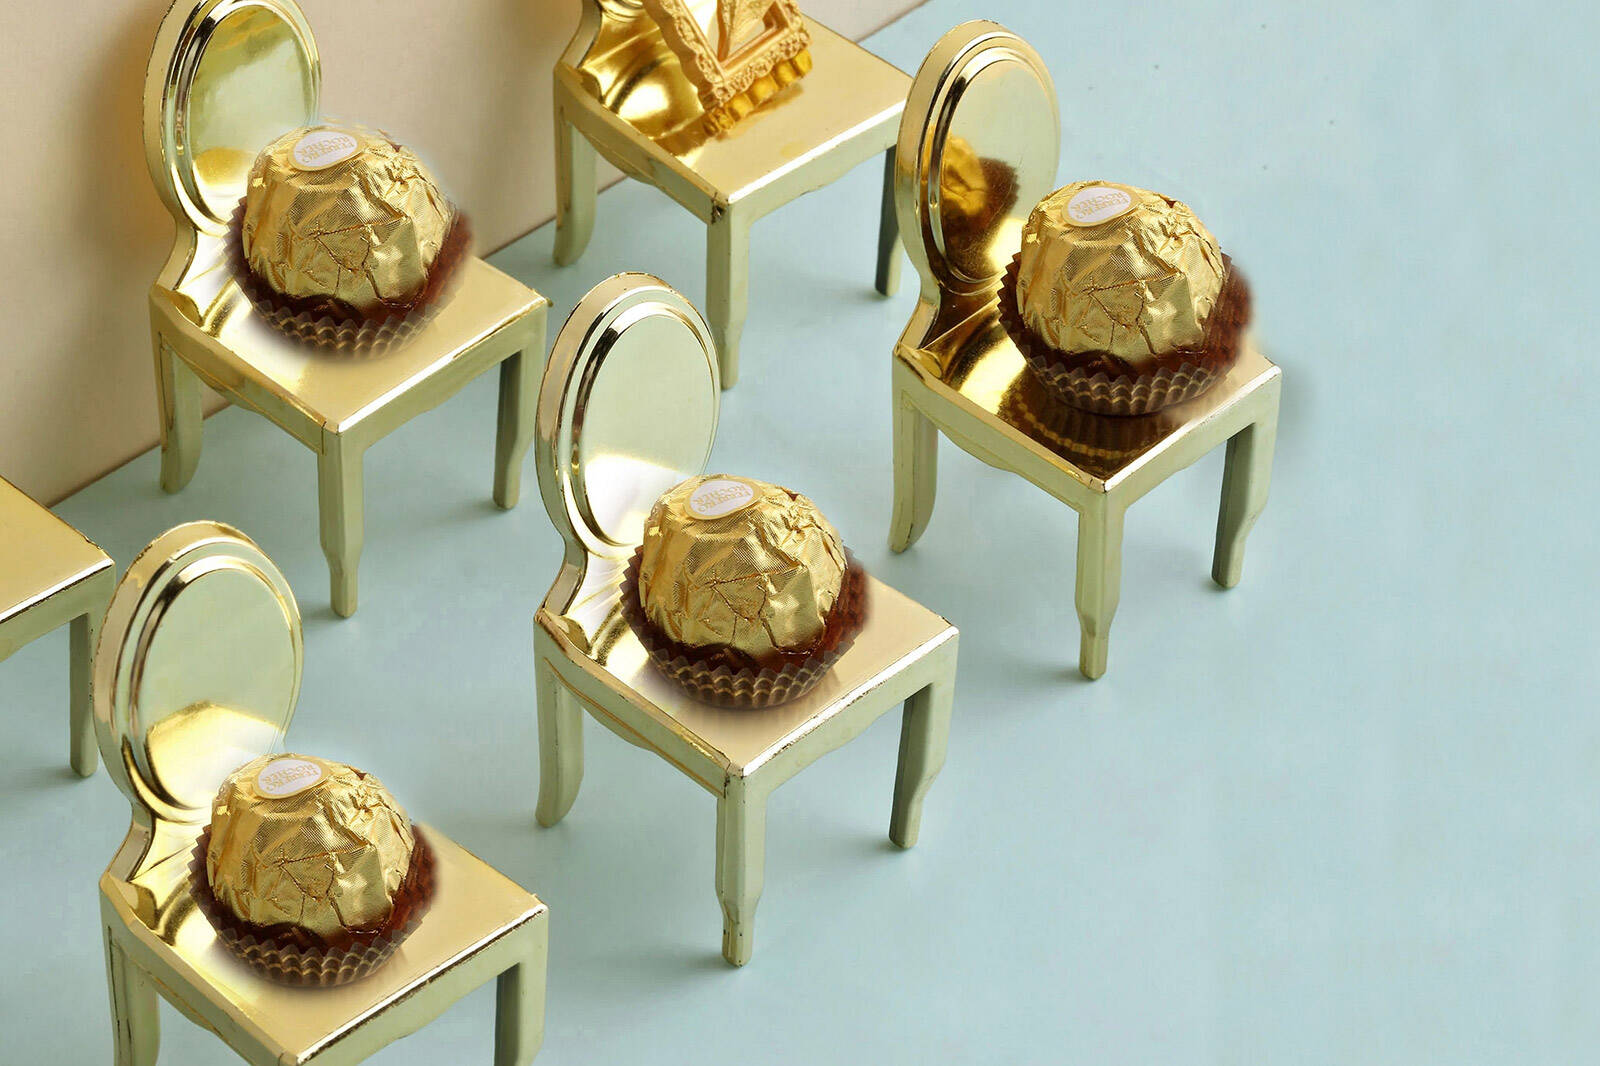
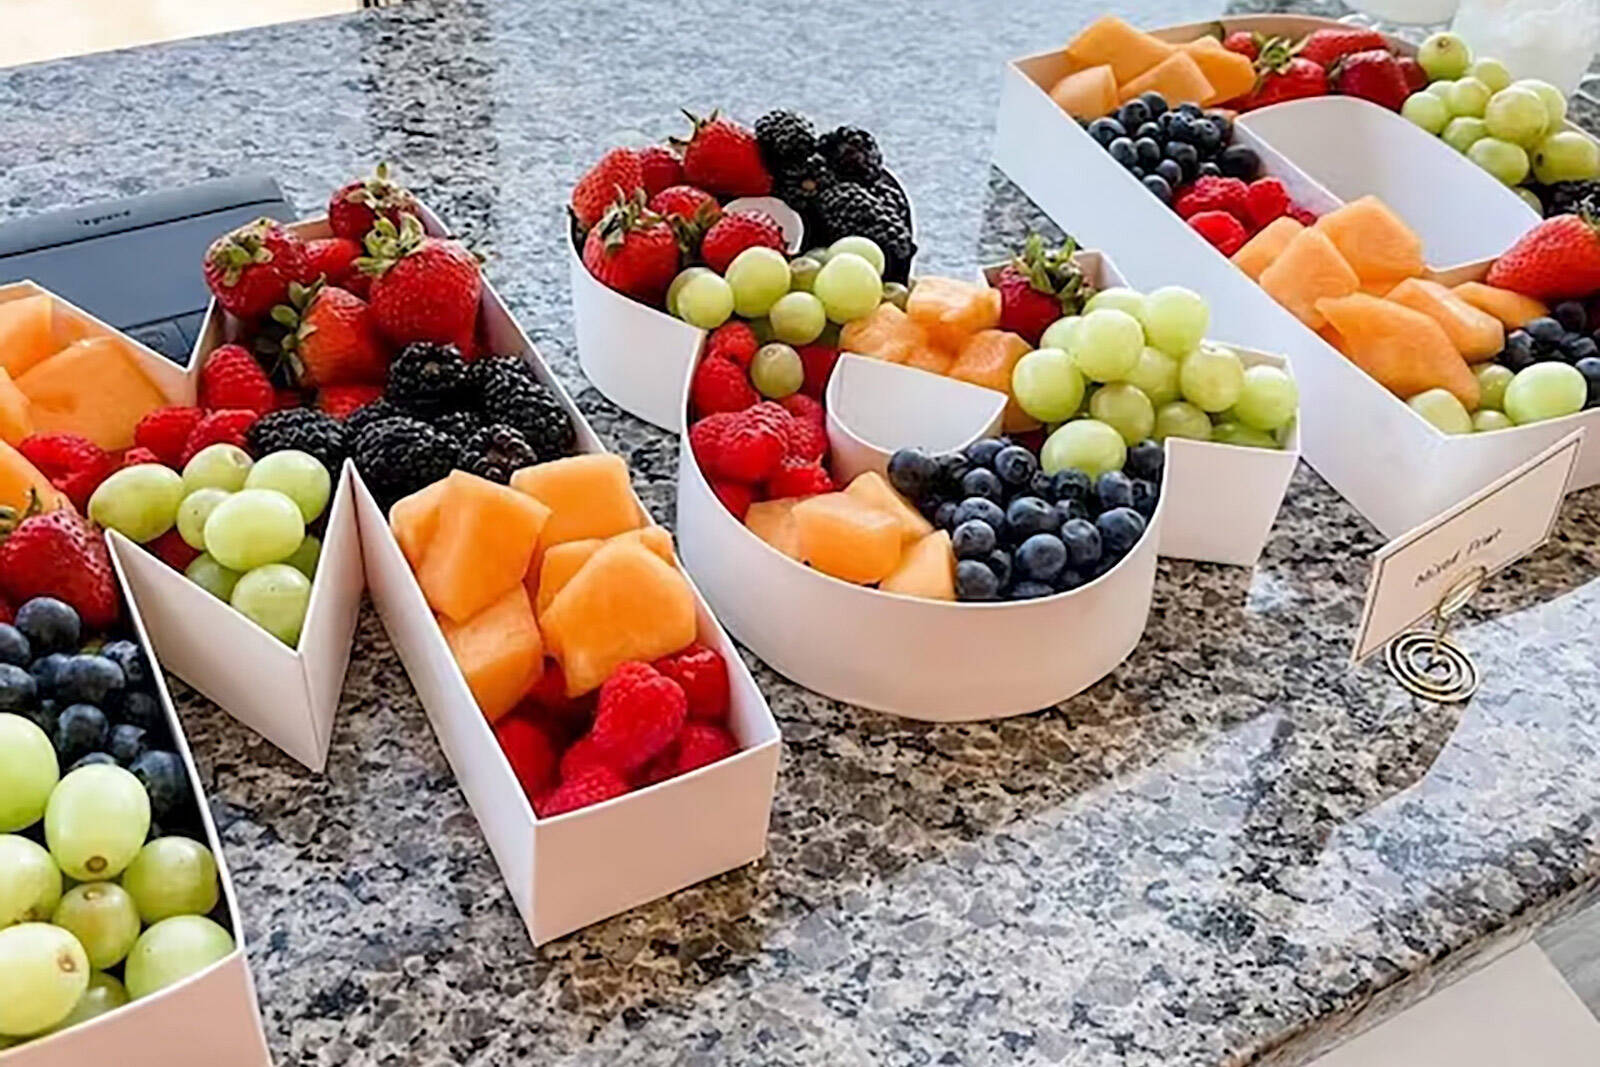
For the back row, use risers, tiered tray stands, donut walls, treat stands, cake pop stands, treat cone stands, pretzel walls, apothecary jars, macaron towers, or fillable acrylic letters.
See links in the photo captions for more info on each.

Risers for back row. View more here. Tiered serving tray stands. View more here. Fillable acrylic letters. View more here. Treat / macaron stand. View more here. Wood food risers. View more here. Tall cake pop stands. View more here. Donut wall display stands. View more here. Tiered treat stands. View more here. Cake pop walls. View more here. Macaron towers. View more here. Treat cone stands. View more here. Apothecary jars. View more here. Pretzel walls. View more here. Donuts stands. View more here.


step four
middle row(s)
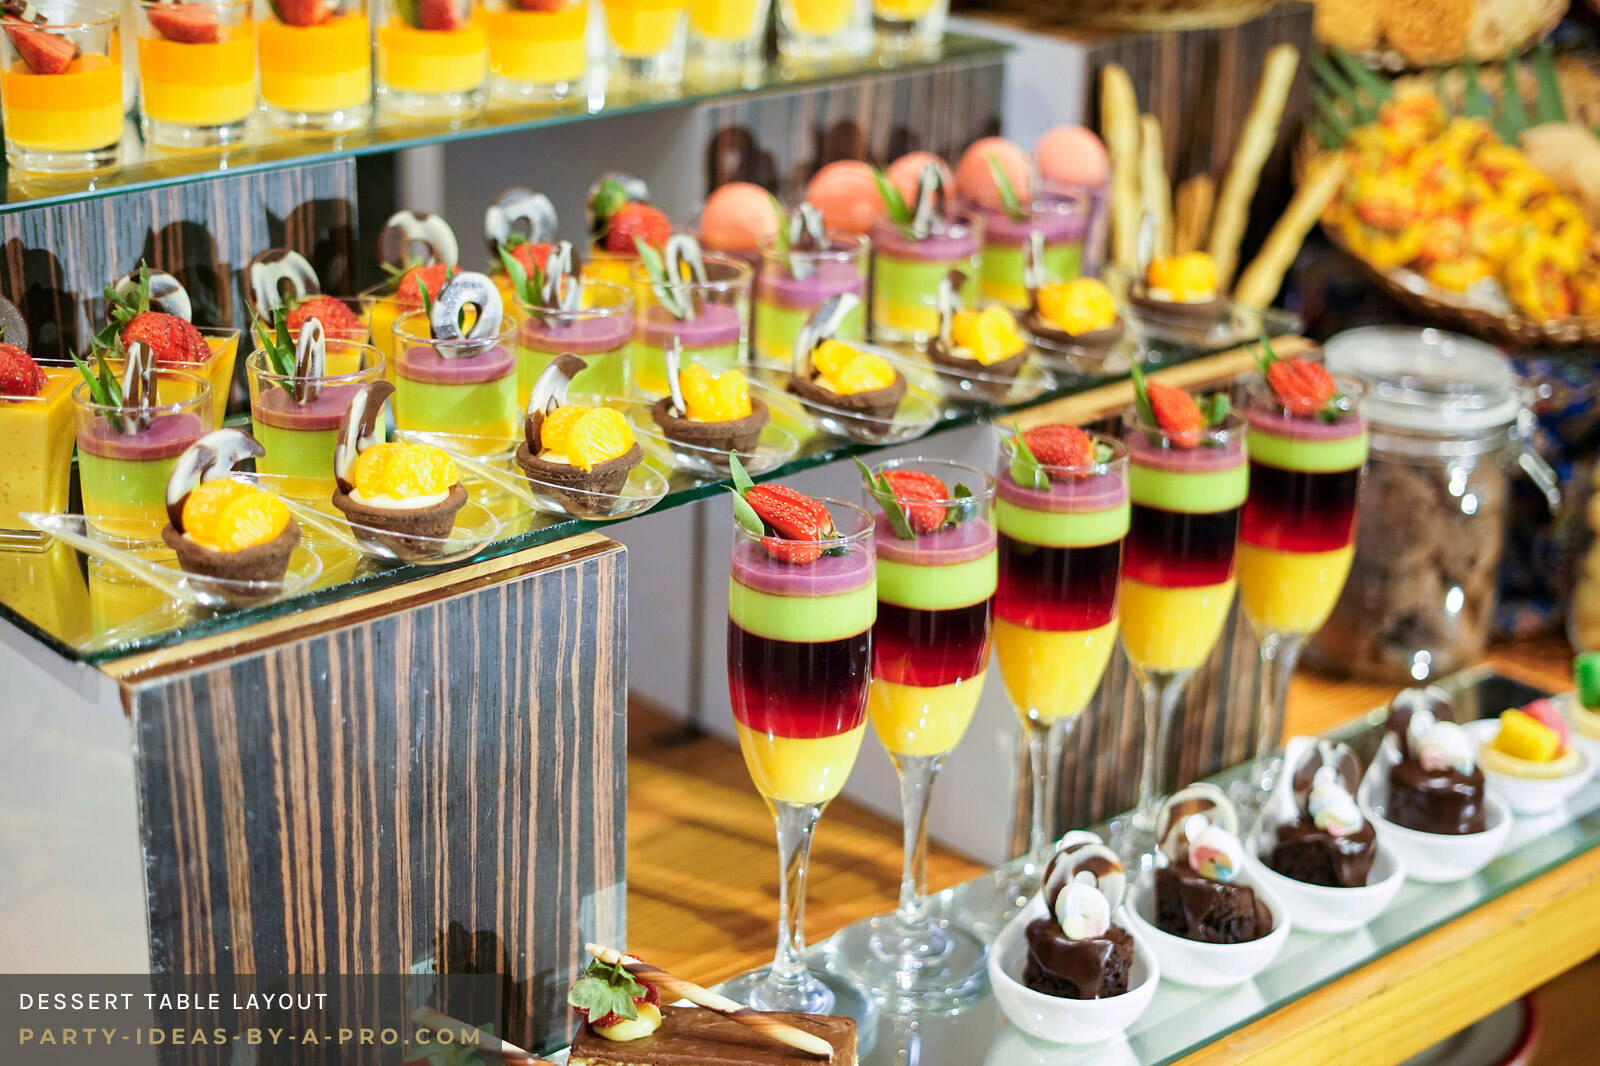
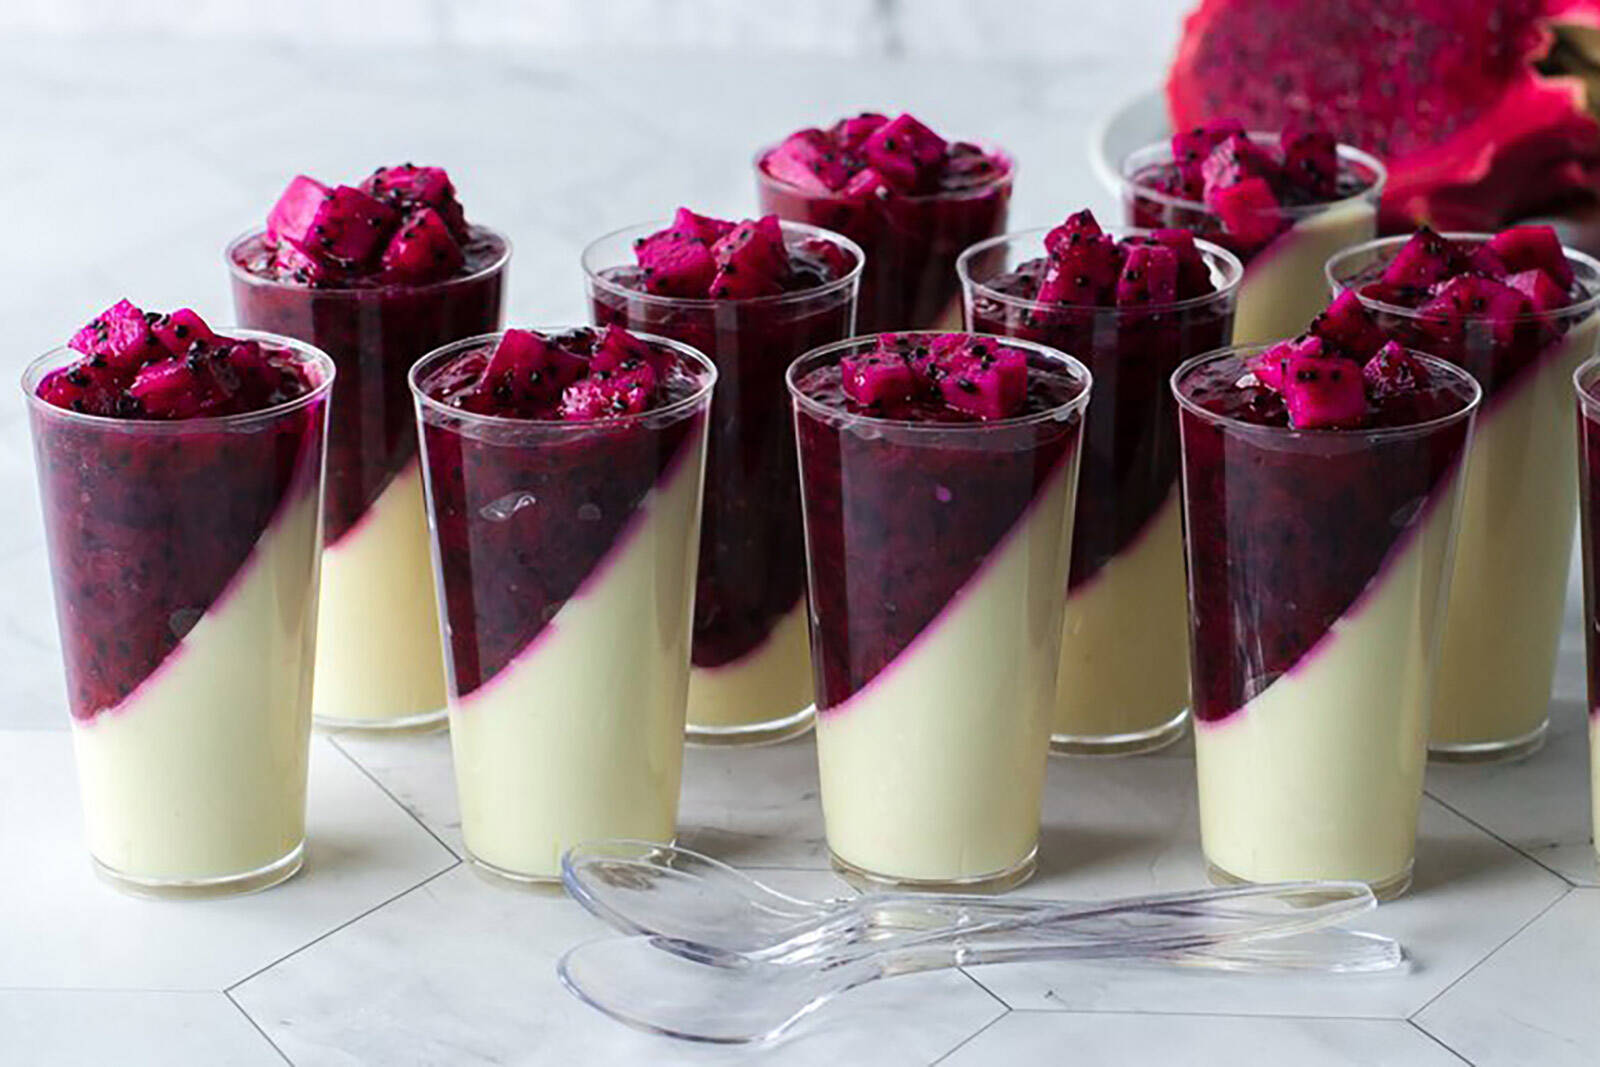
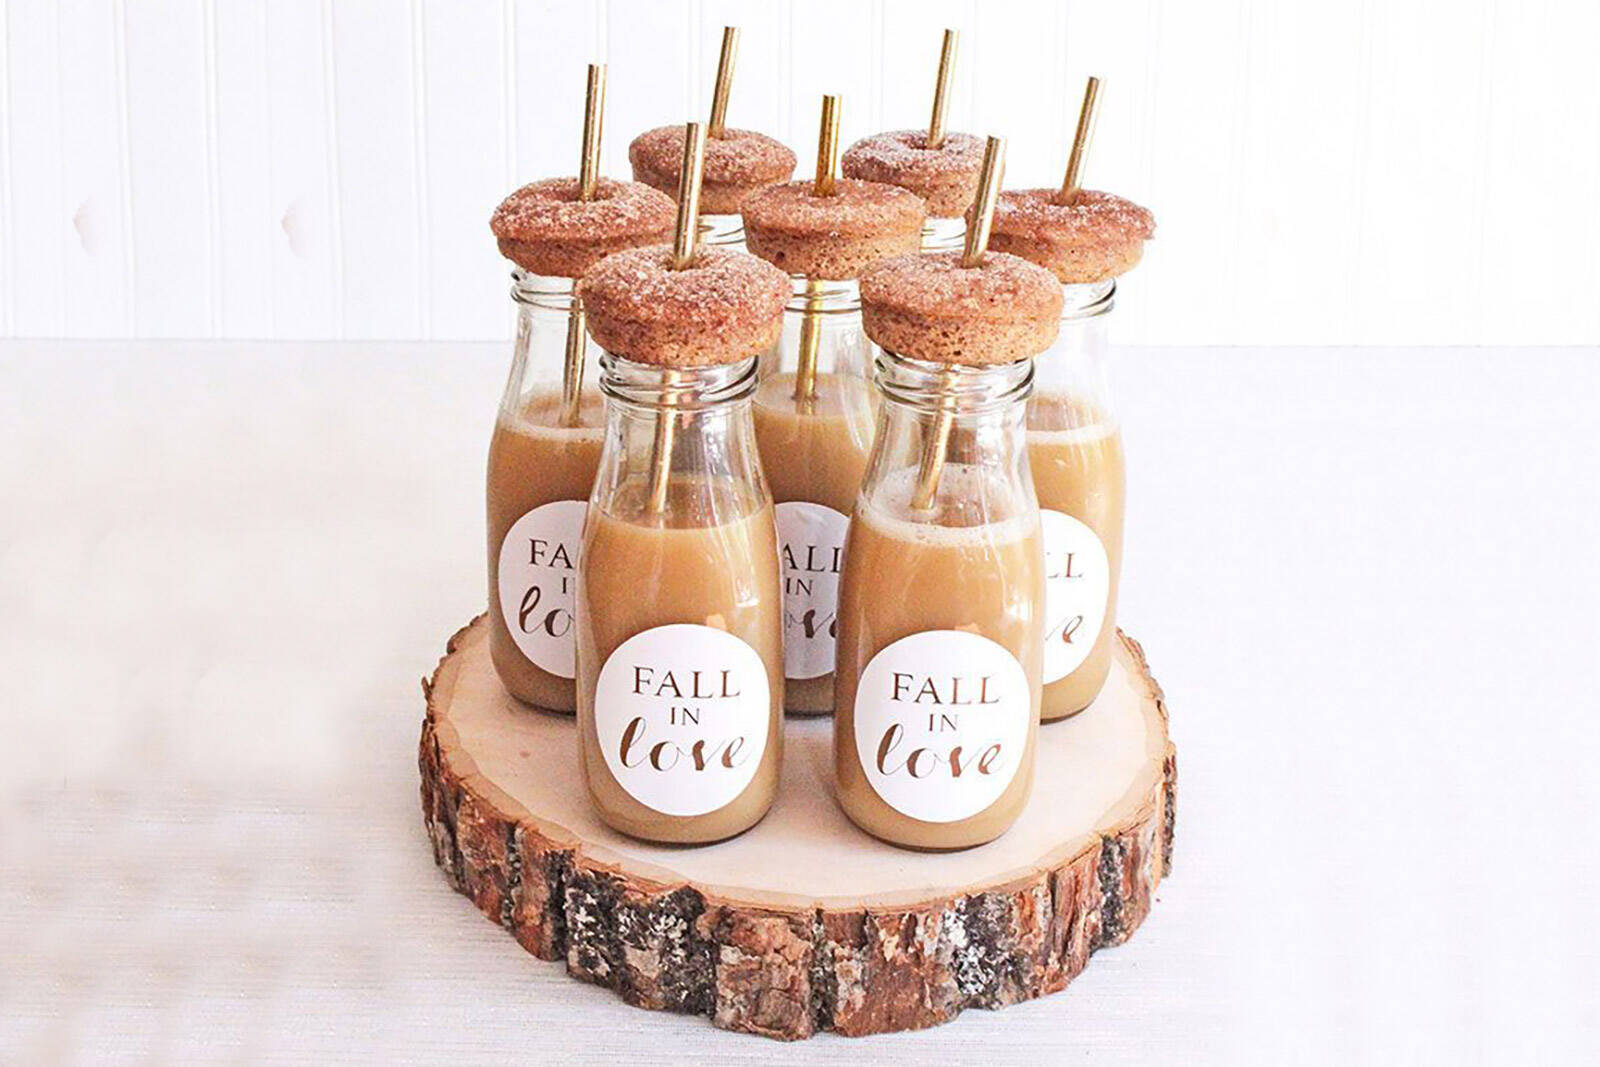
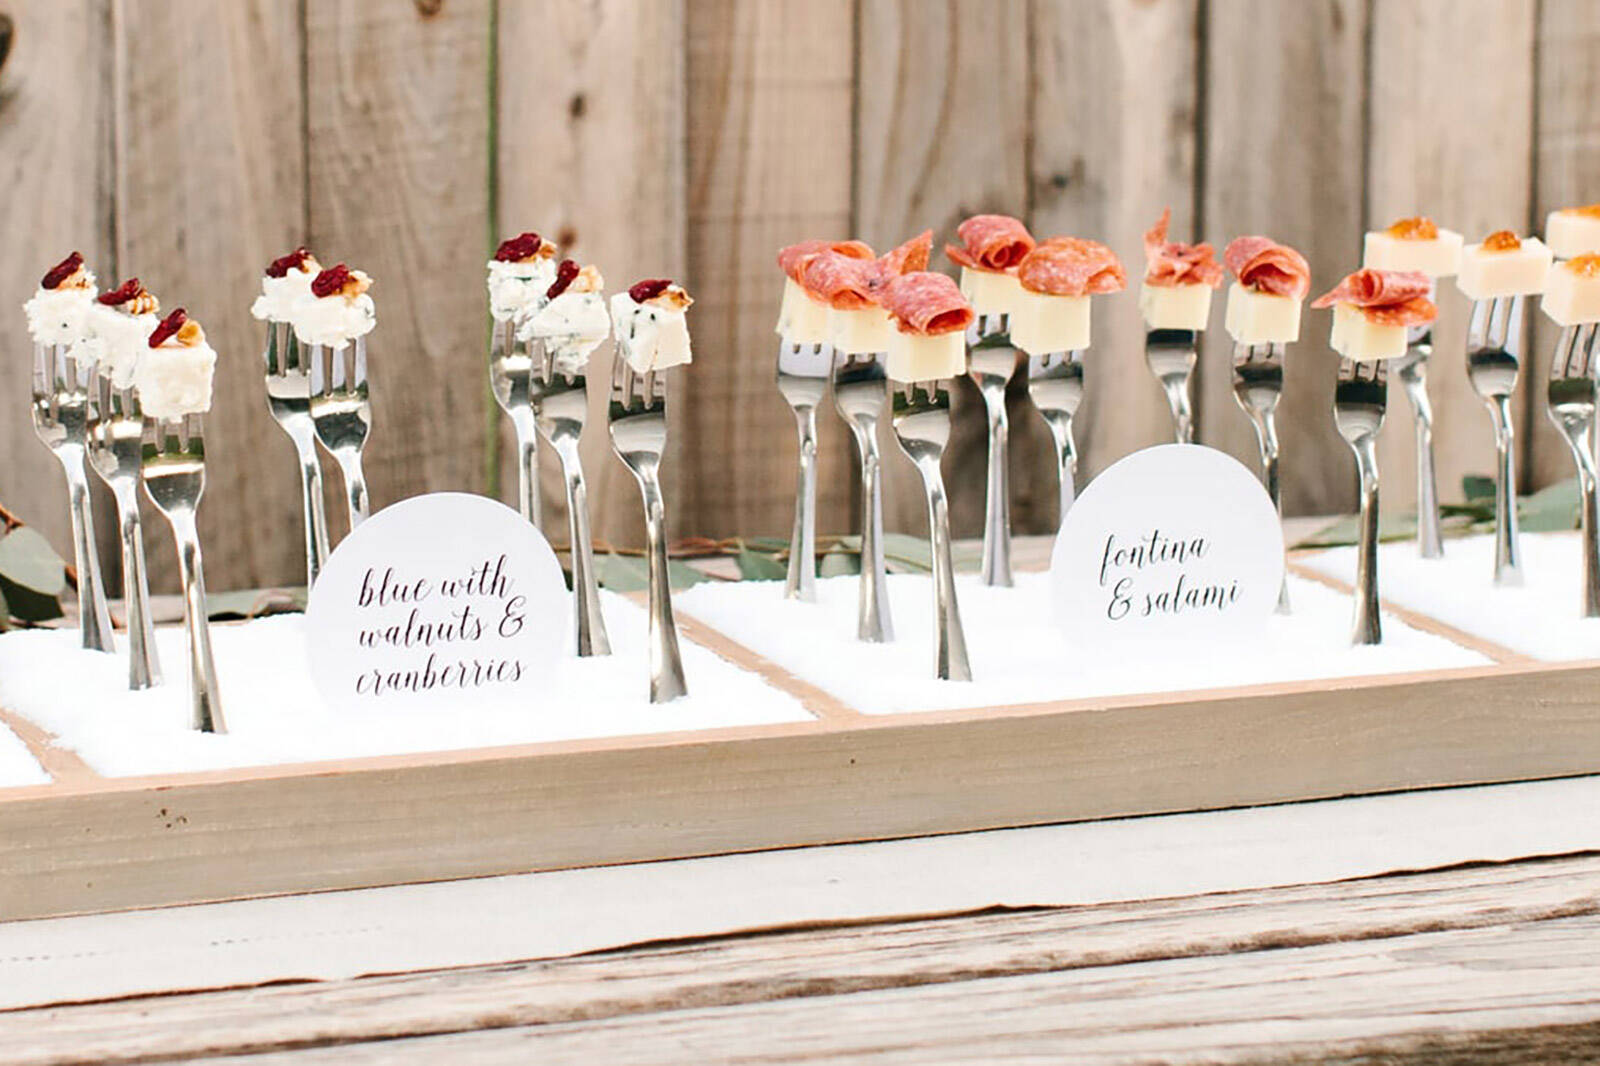
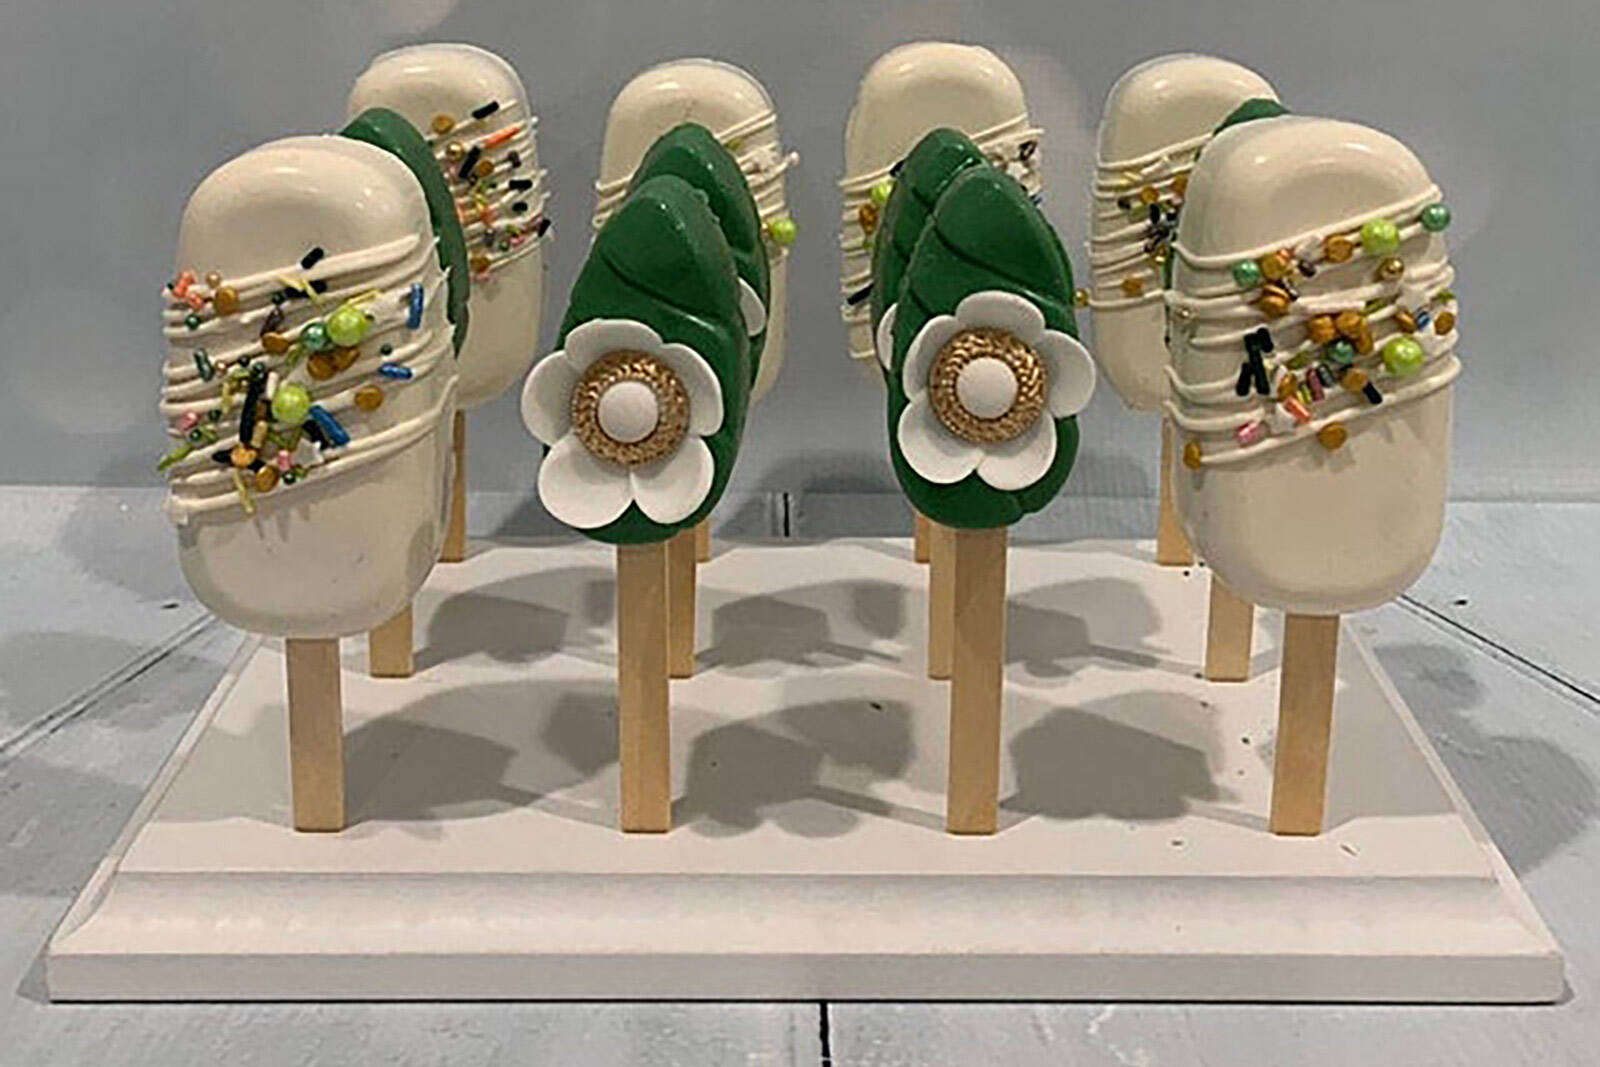
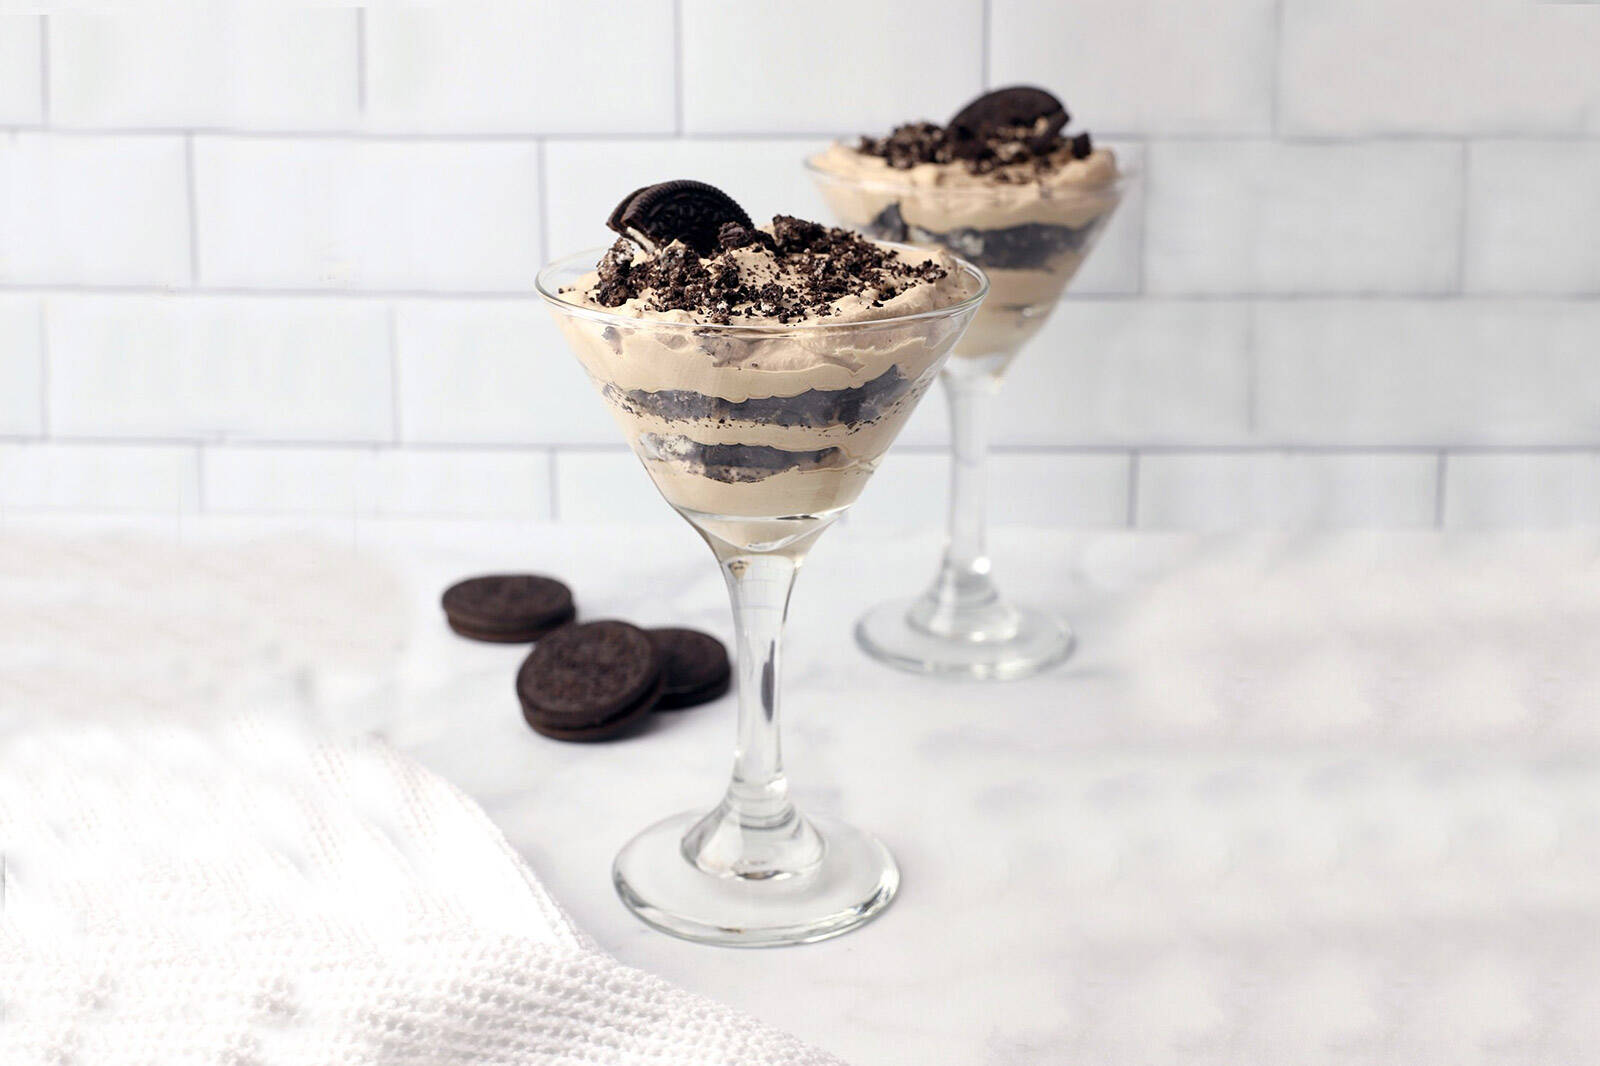
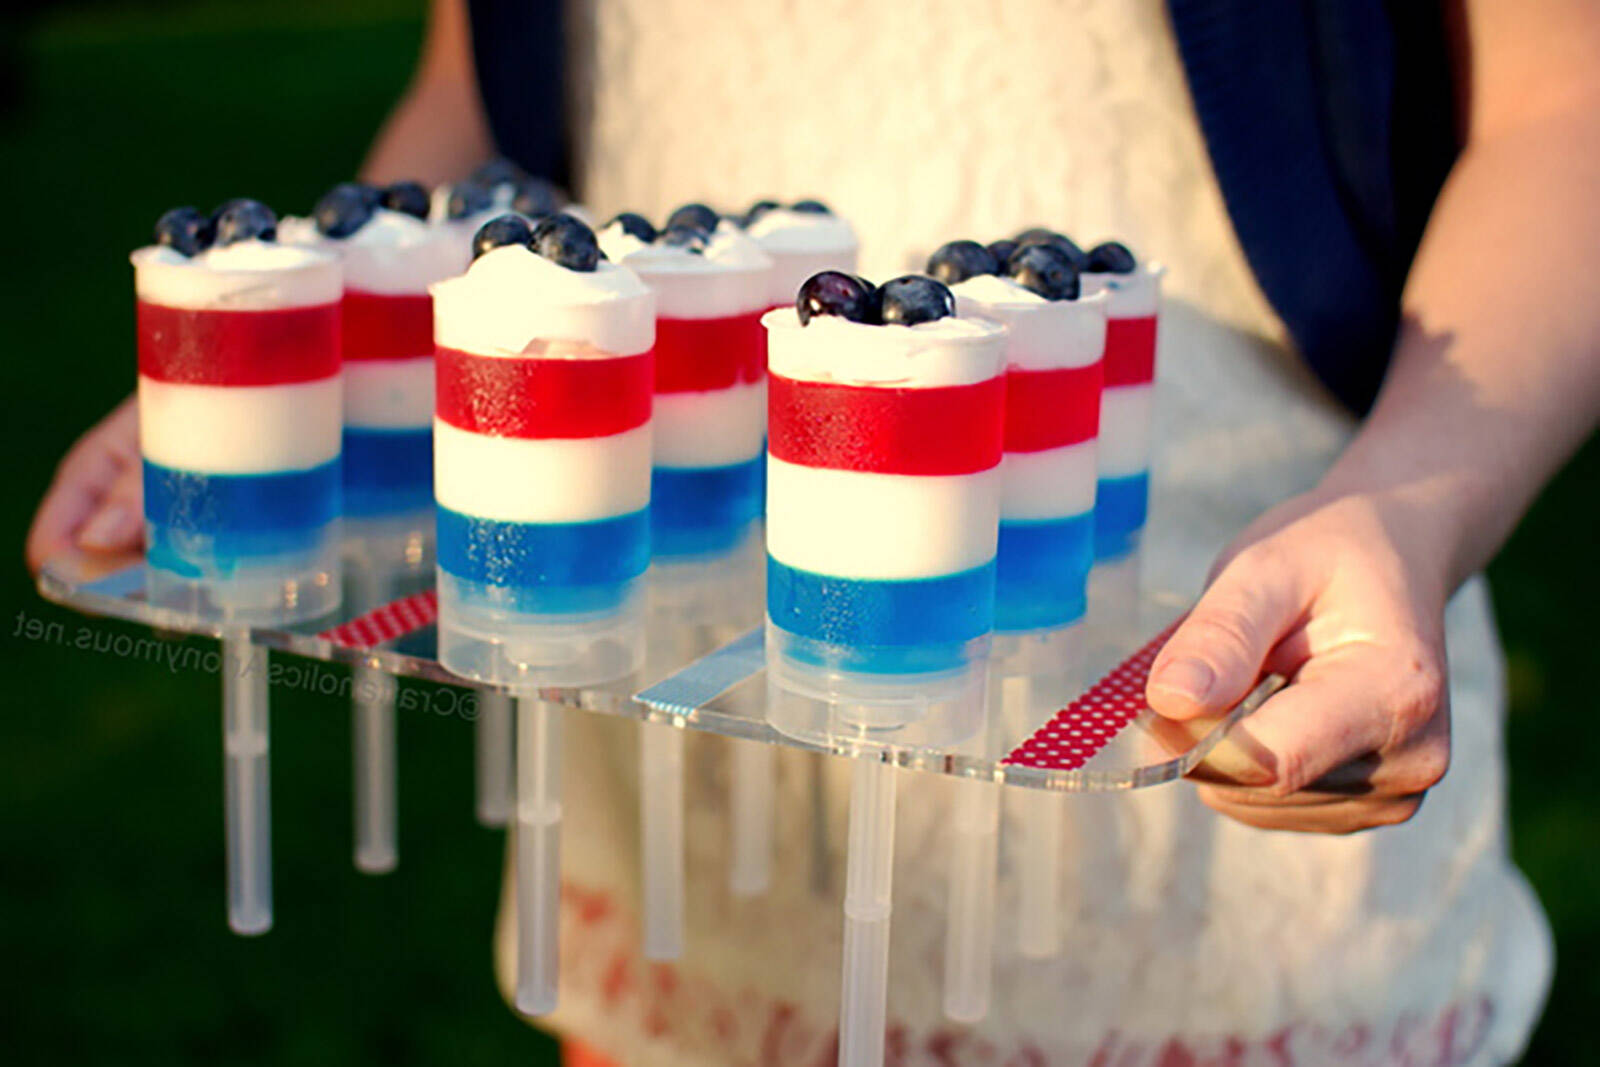
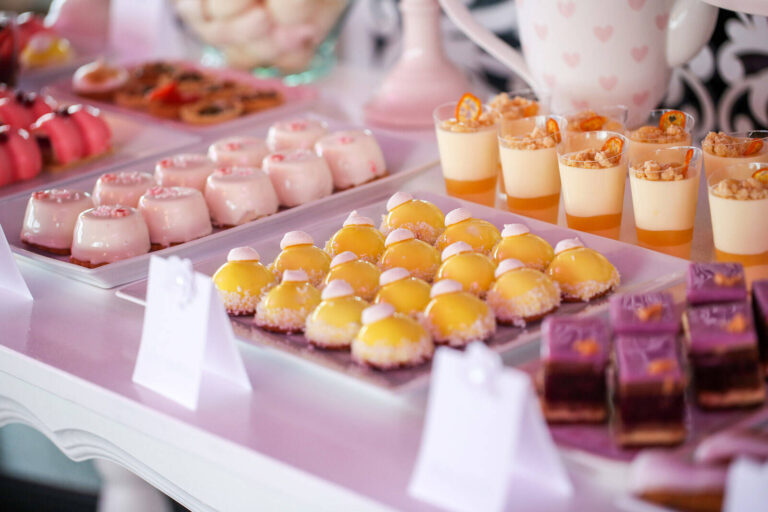
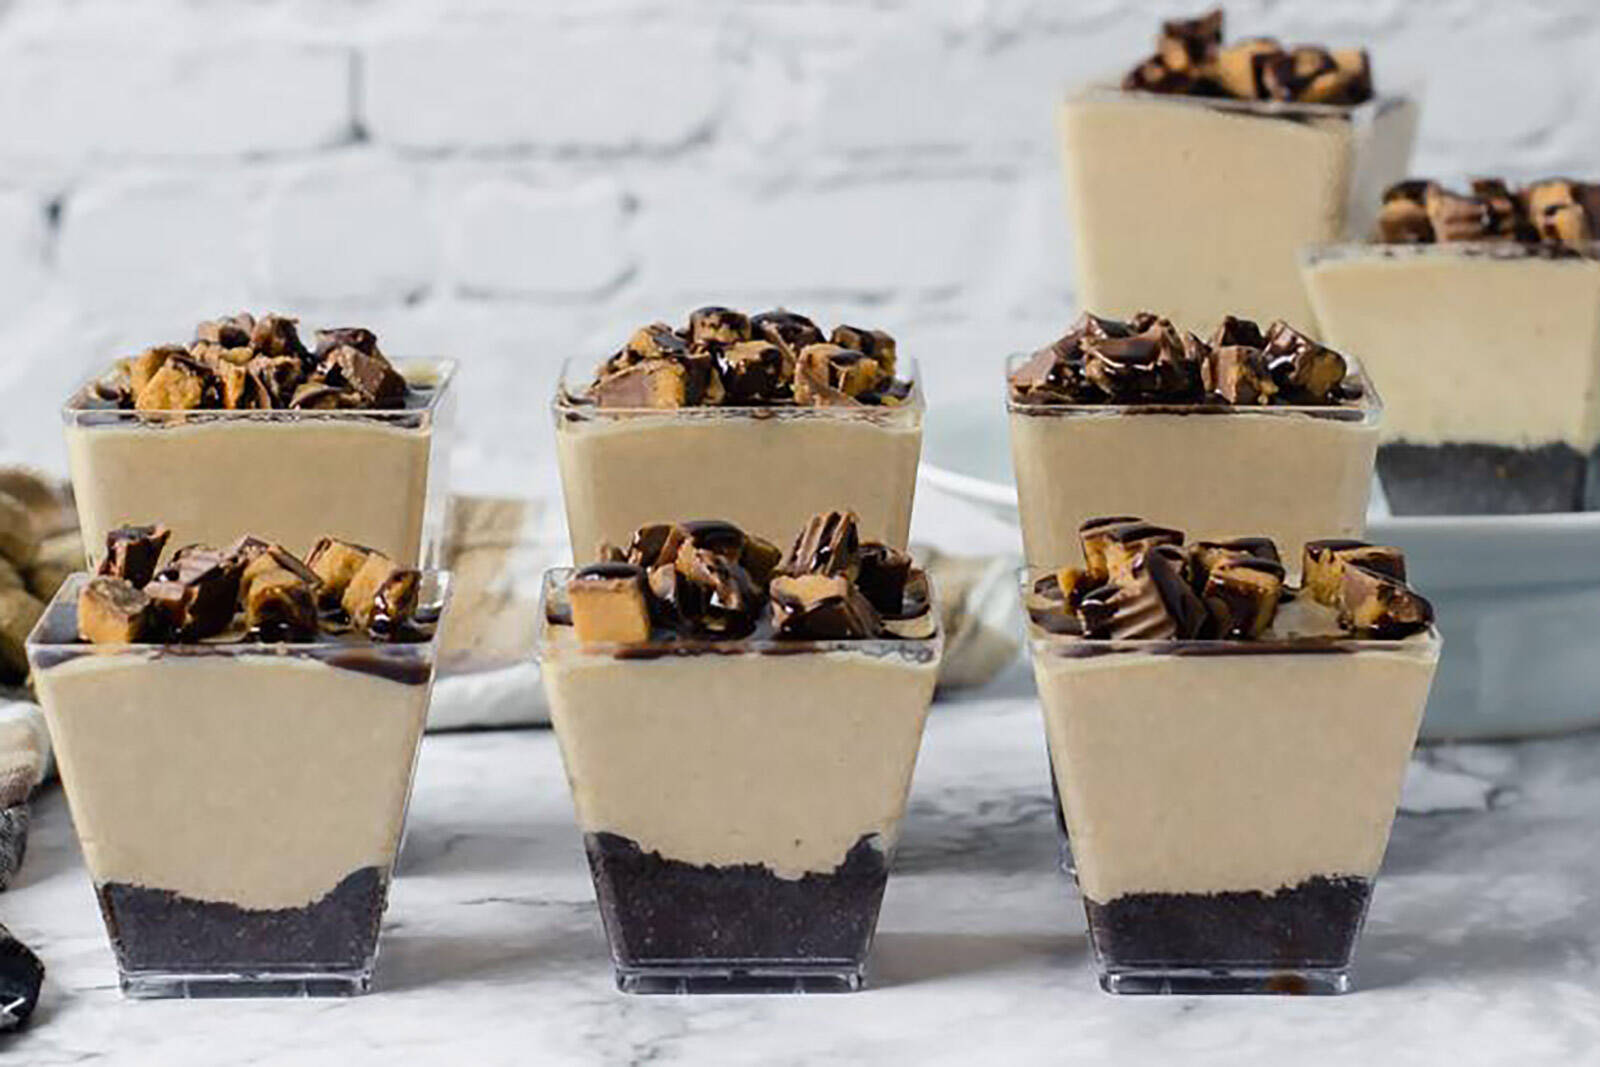
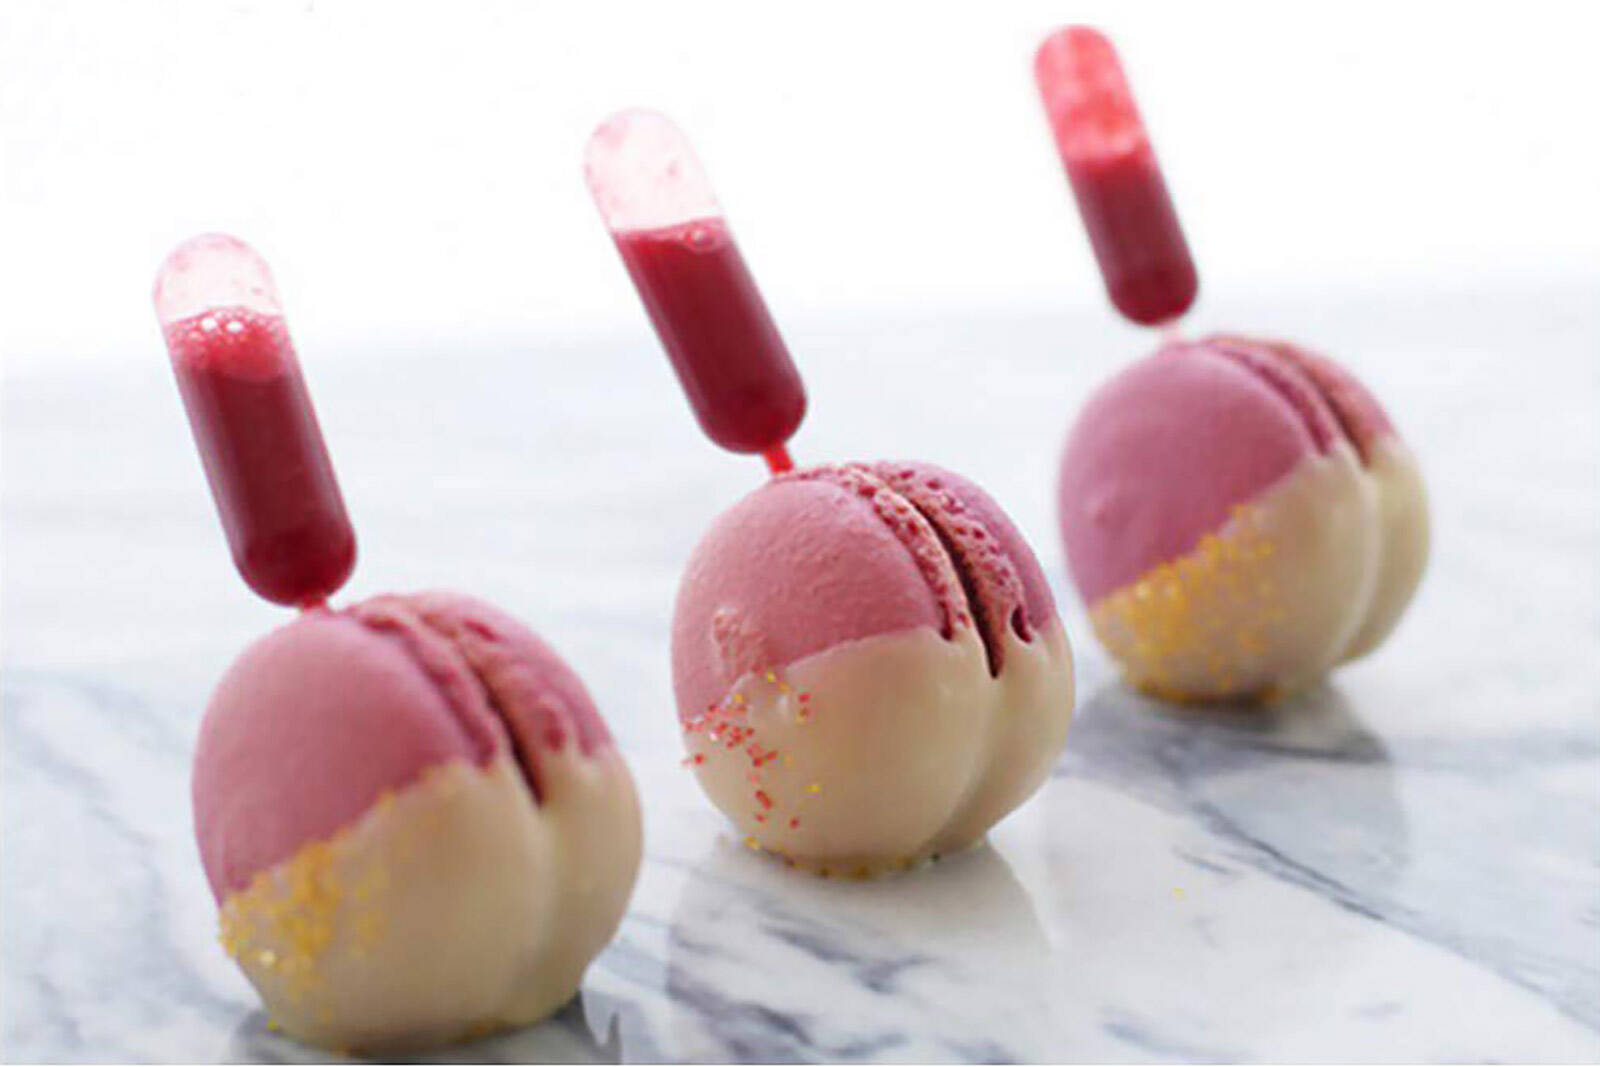
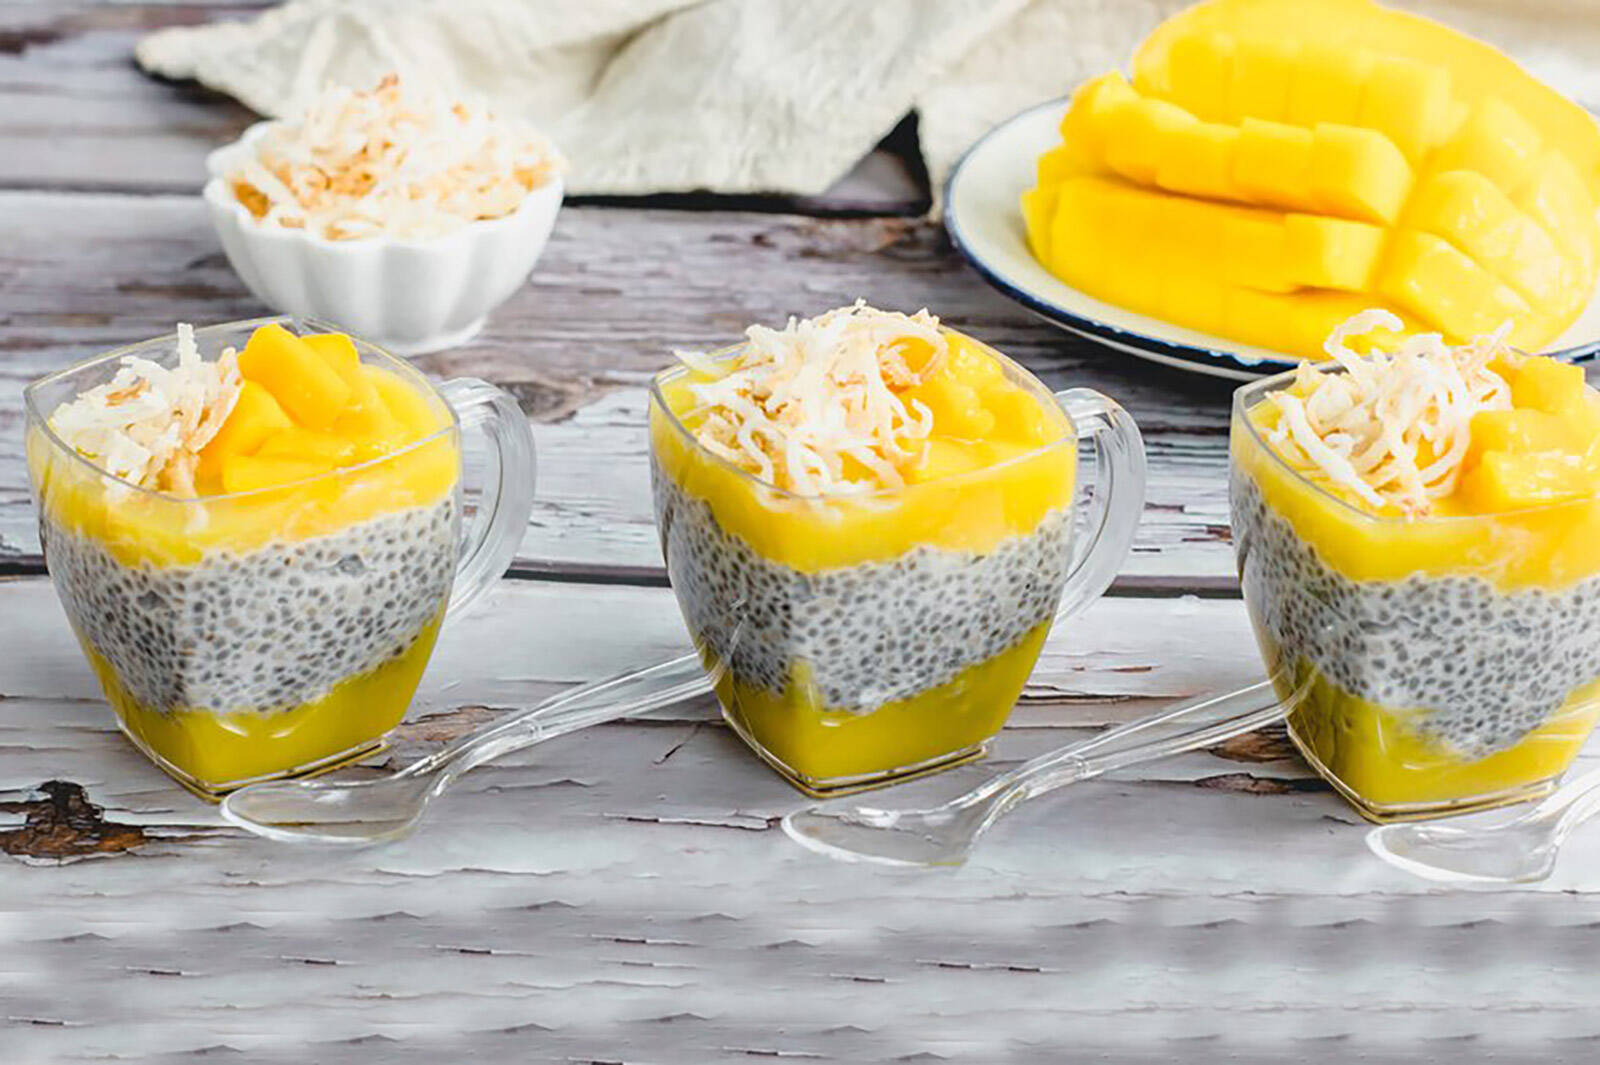
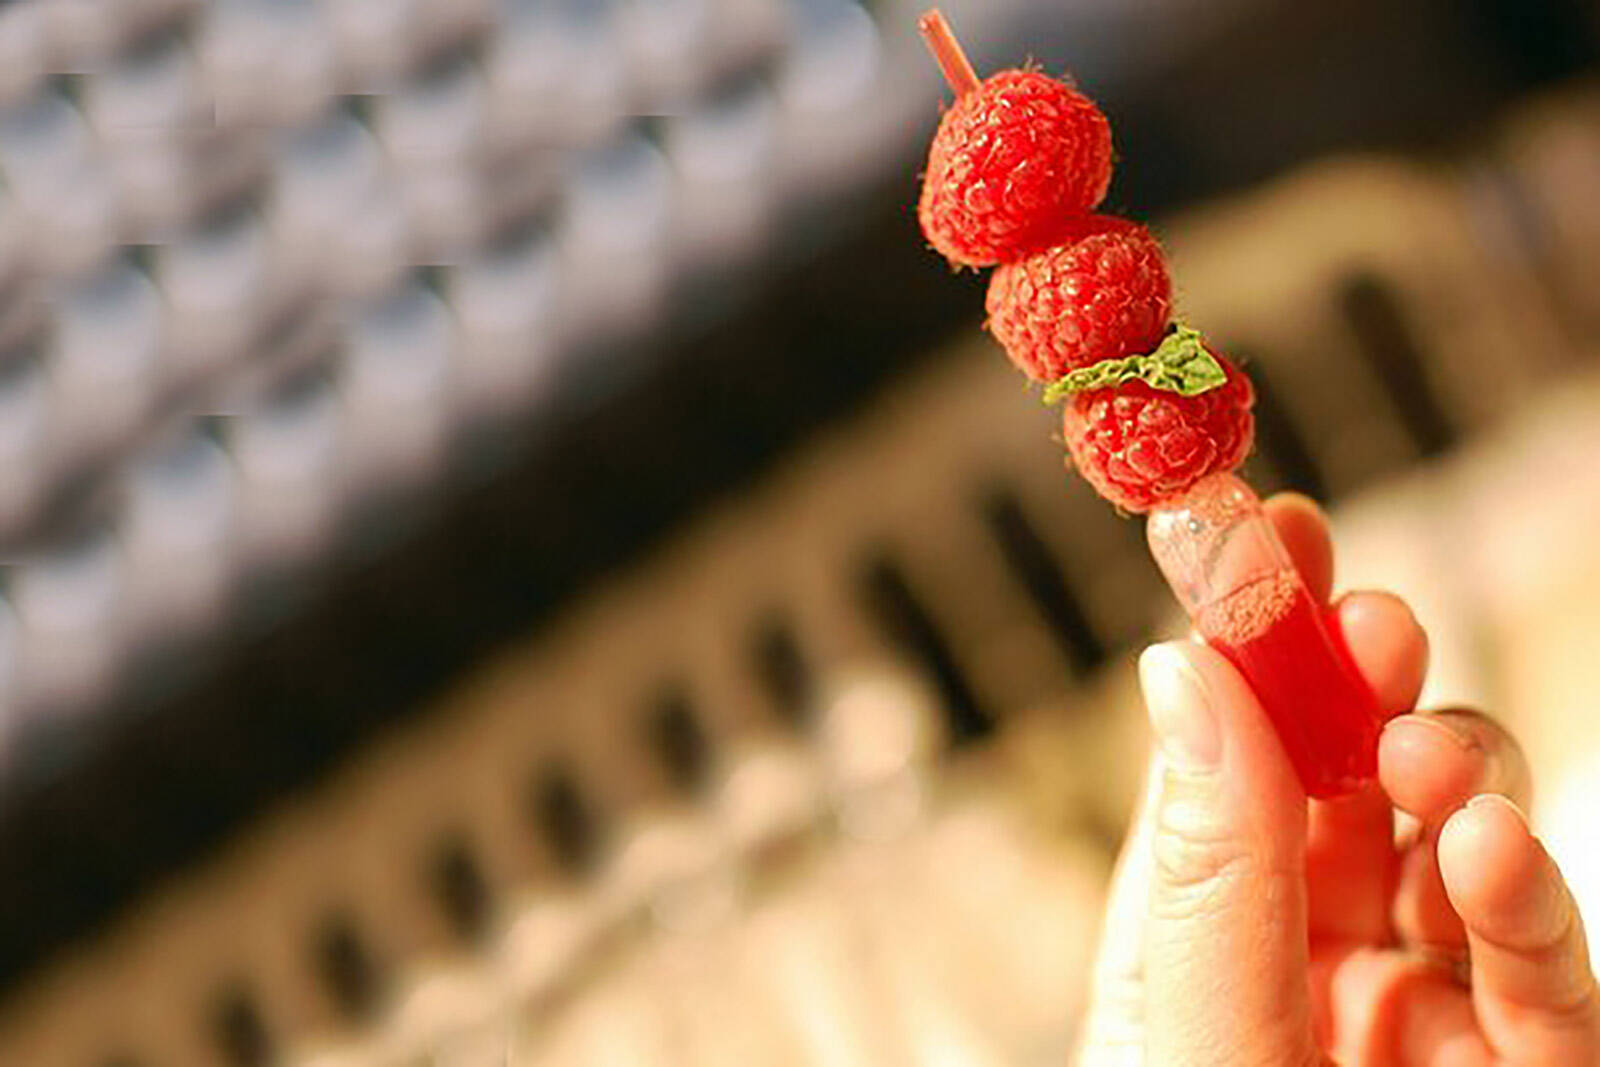
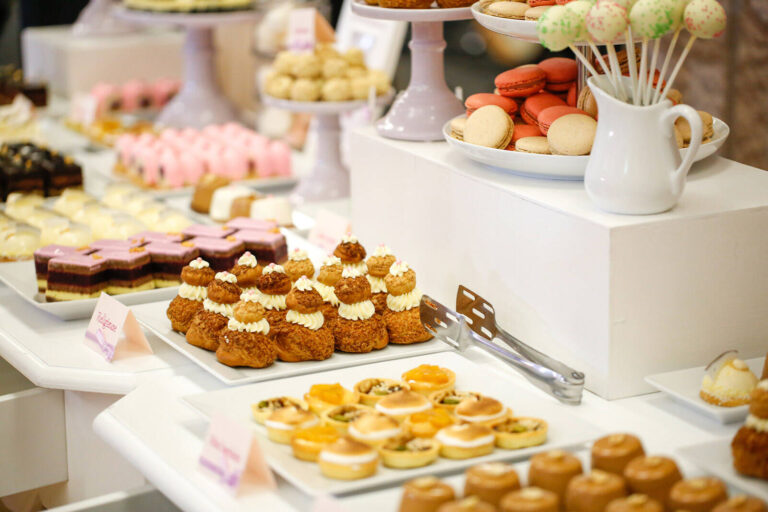
For the middle row(s), position treats / desserts where the serving container naturally adds some height.
Examples include desserts in martini glasses, disposable shooter glasses, milk bottles, mason jars, treat cones, push-up pops, and on tasting forks or skewers.
See links in the photo captions for more info on each.
Desserts served in stemware adds height. View more here. Disposable shooter glasses. View more here. Milk bottle desserts. View more here. Bite-size treats on tasting forks. View more here. Cakesicle stans. View more here. Martini glass desserts. View more here. Push-up pop containers. View more here. Cake pop stands. View more here.


step five
front row
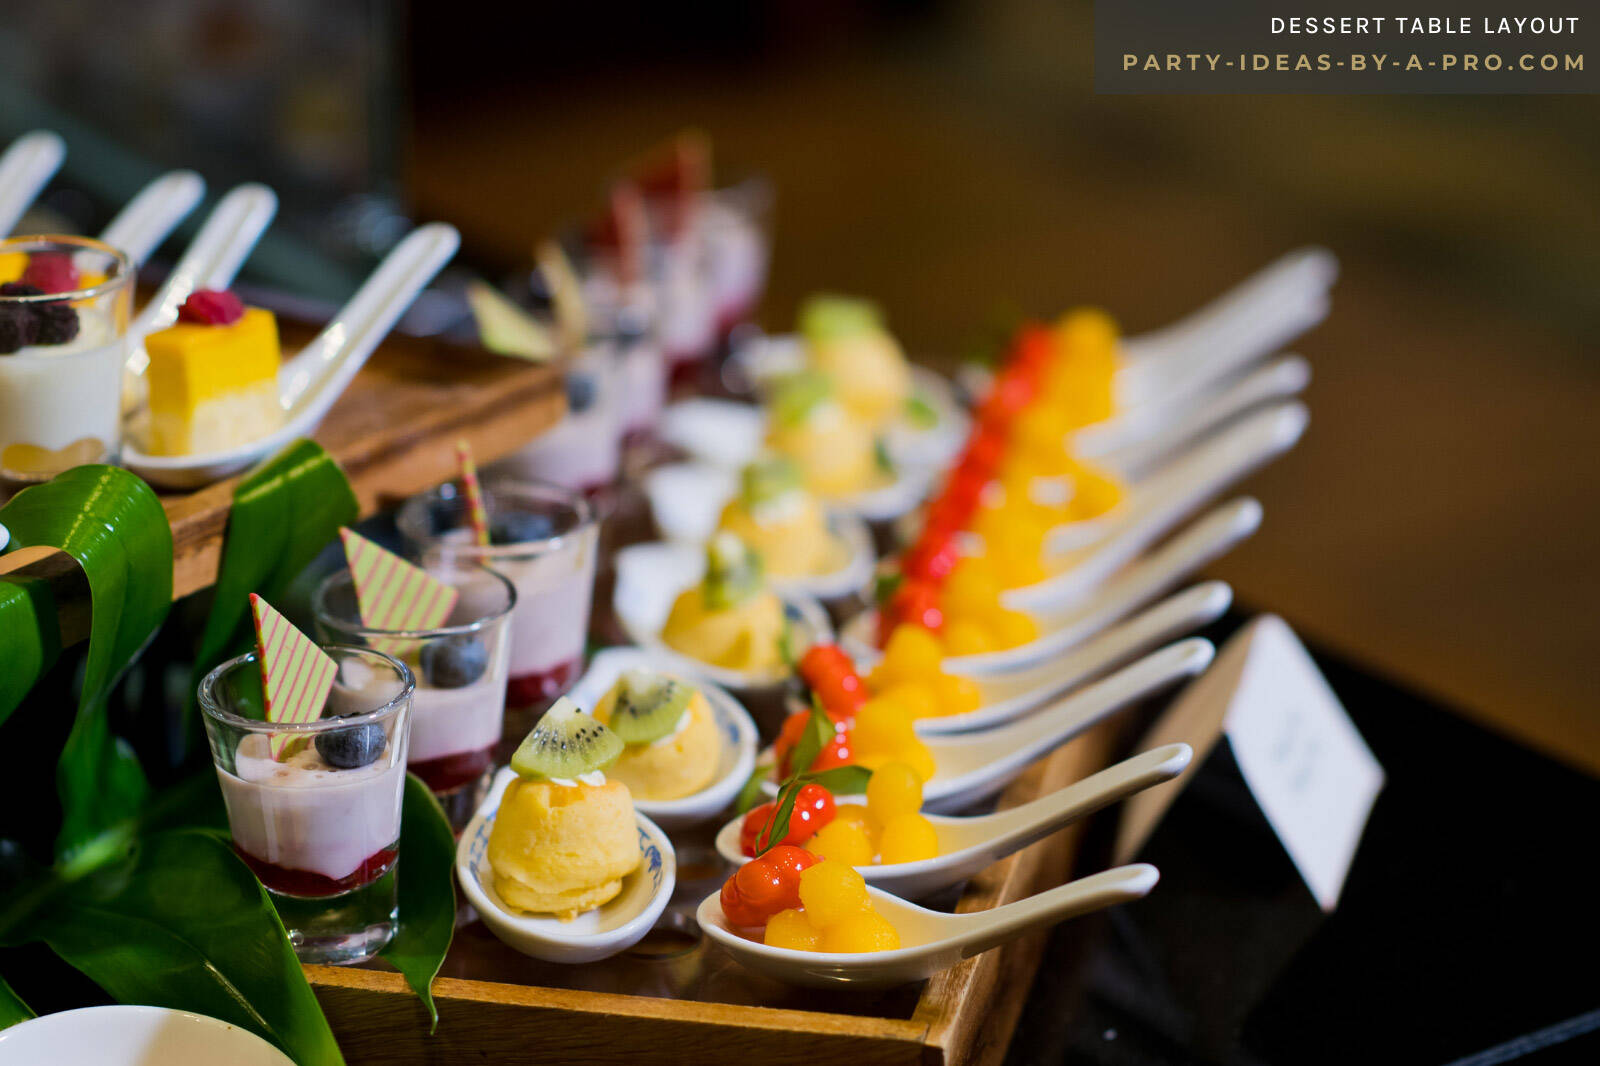
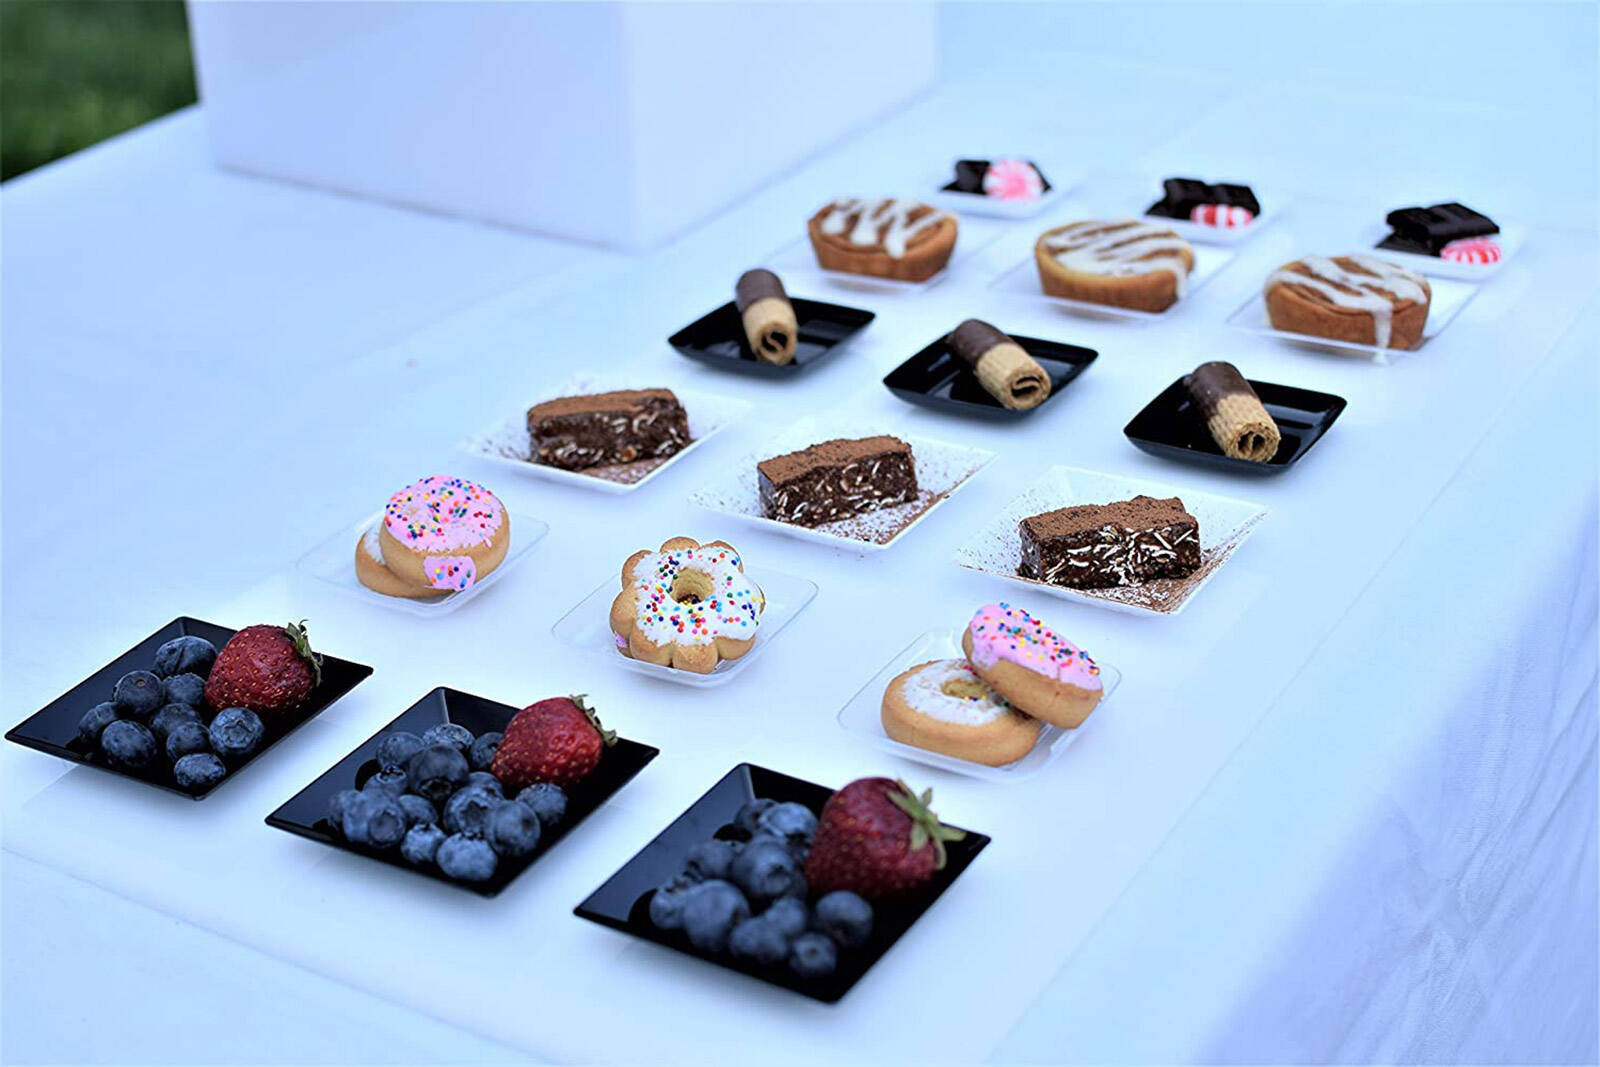
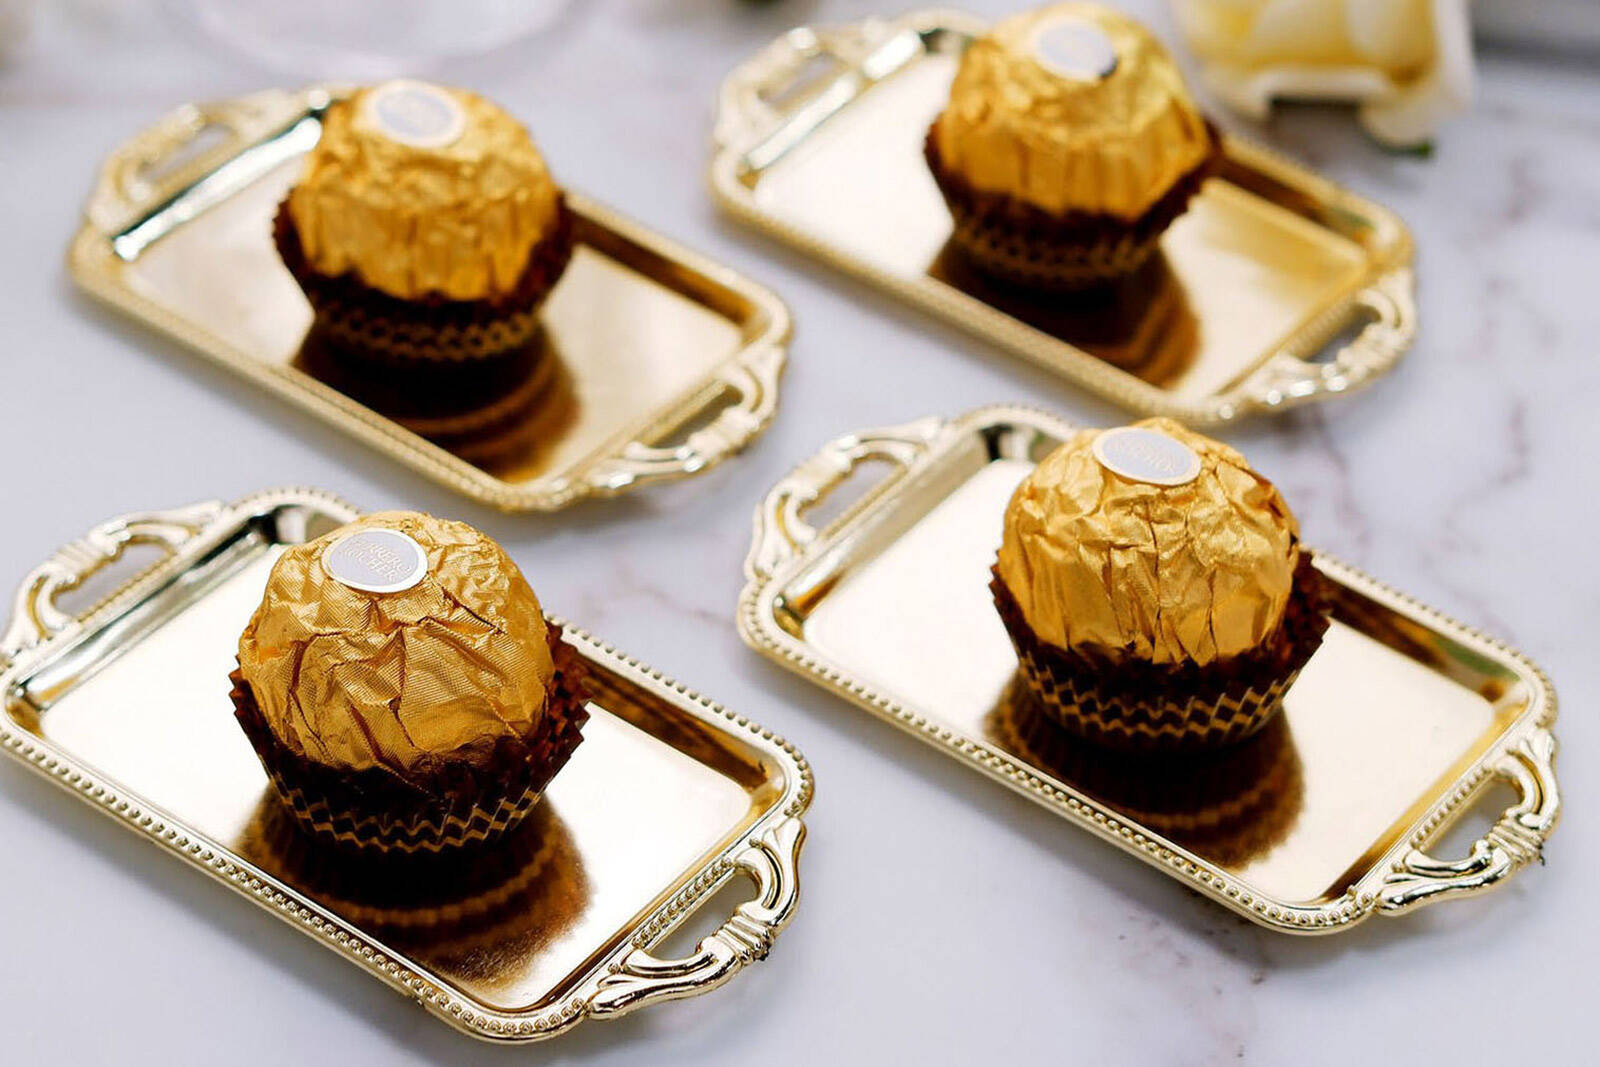
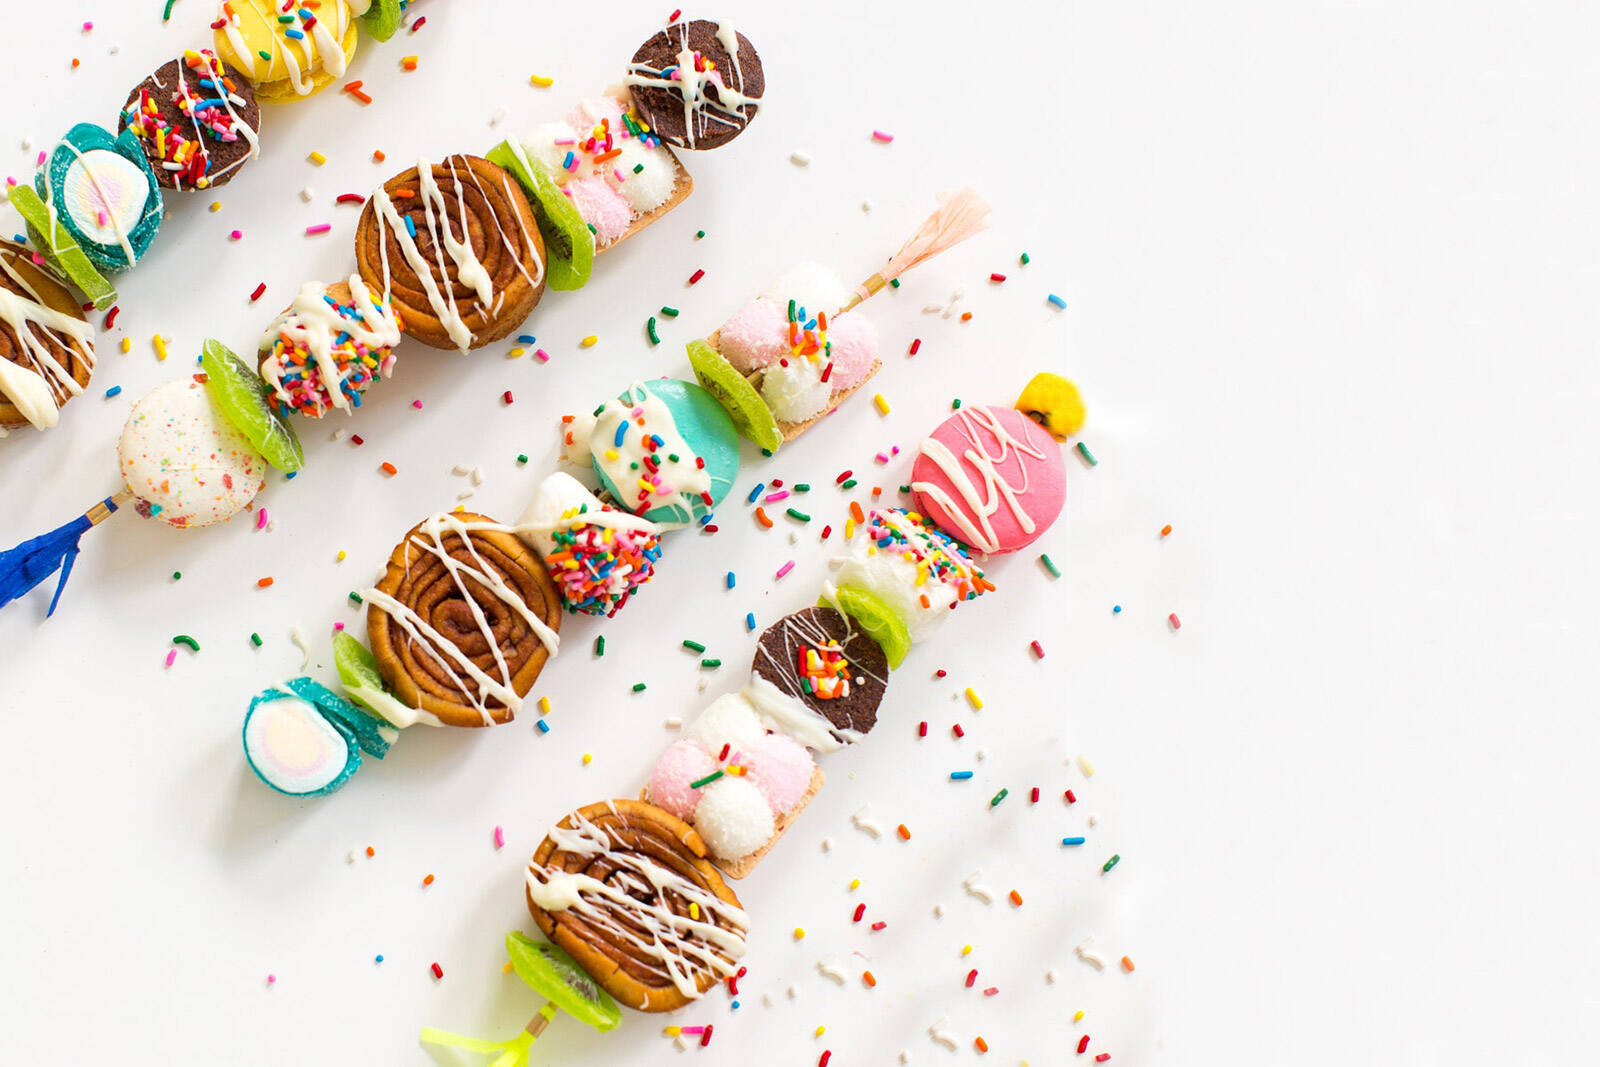
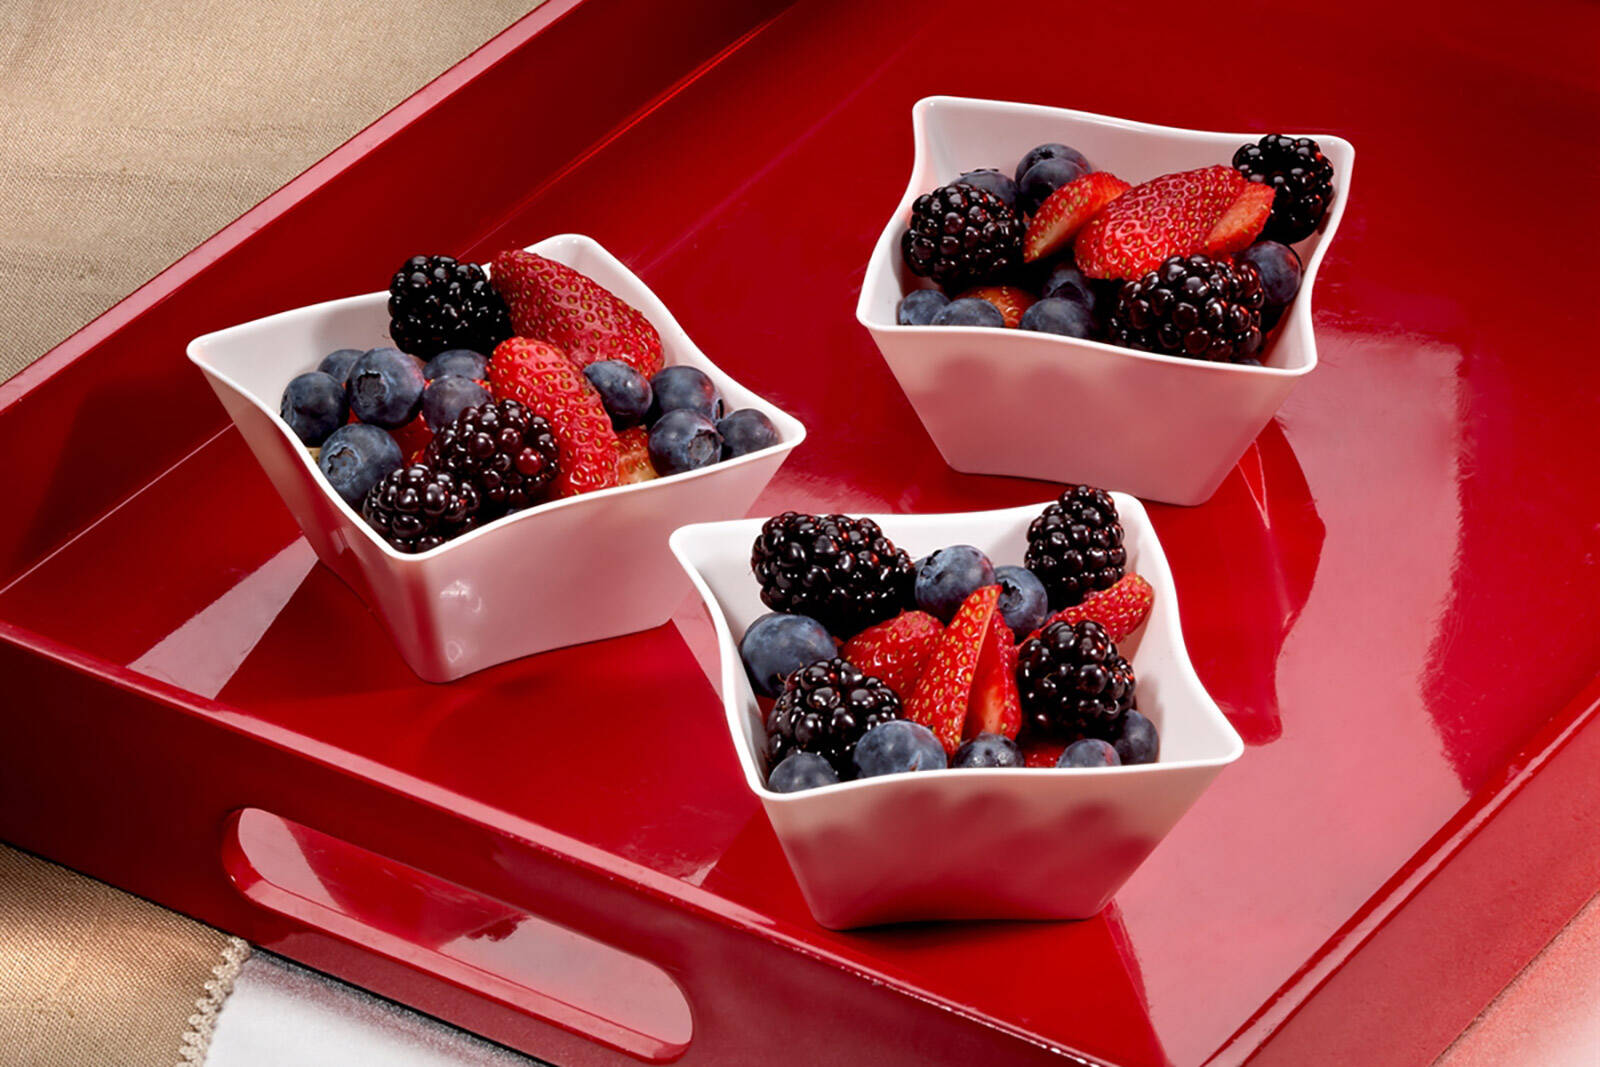
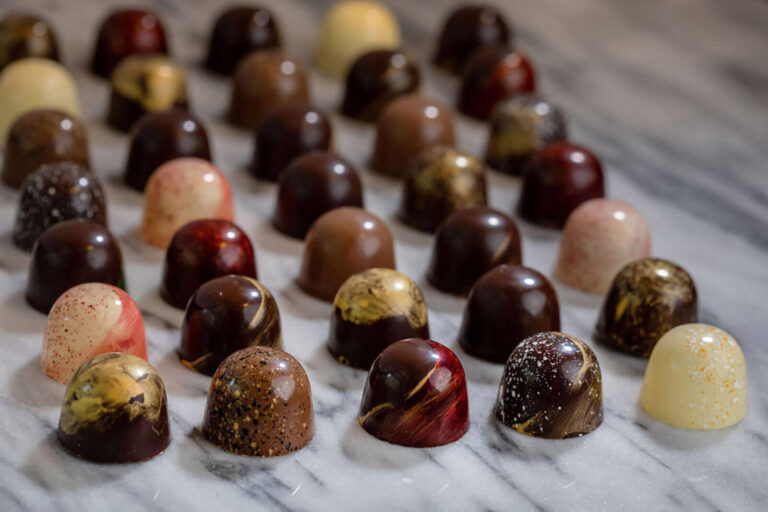
Position the smaller, bite-size treats and those served in shorter containers along the front of your dessert table.
Examples include desserts / treats served on premium disposable plates, tasting spoons, food pipettes, skewers (laid flat), mini tasting plates, or in disposable dessert cups, mini mugs, tasting bowls, treat cups, fillable letter & number boxes, and novelty mini treat containers.
See links in the photo captions for more info on each.
Desserts served on premium disposable plates. View more here. Disposable mini dessert cups. View more here. Desserts served on tasting spoons. View more here. Novelty mini treat containers. View more here. Macarons with sauce pipettes. View more here. Disposable mini tasting plates. View more here. Fillable letter & number boxes. View more here. Disposable mini coffee mugs. View more here. Disposable treat cups. View more here. Novelty treat containers. View more here. Dessert kabobs. View more here. Disposable food pipettes. View more here. Disposable mini tasting bowls. View more here.

step six
serving plates / trays
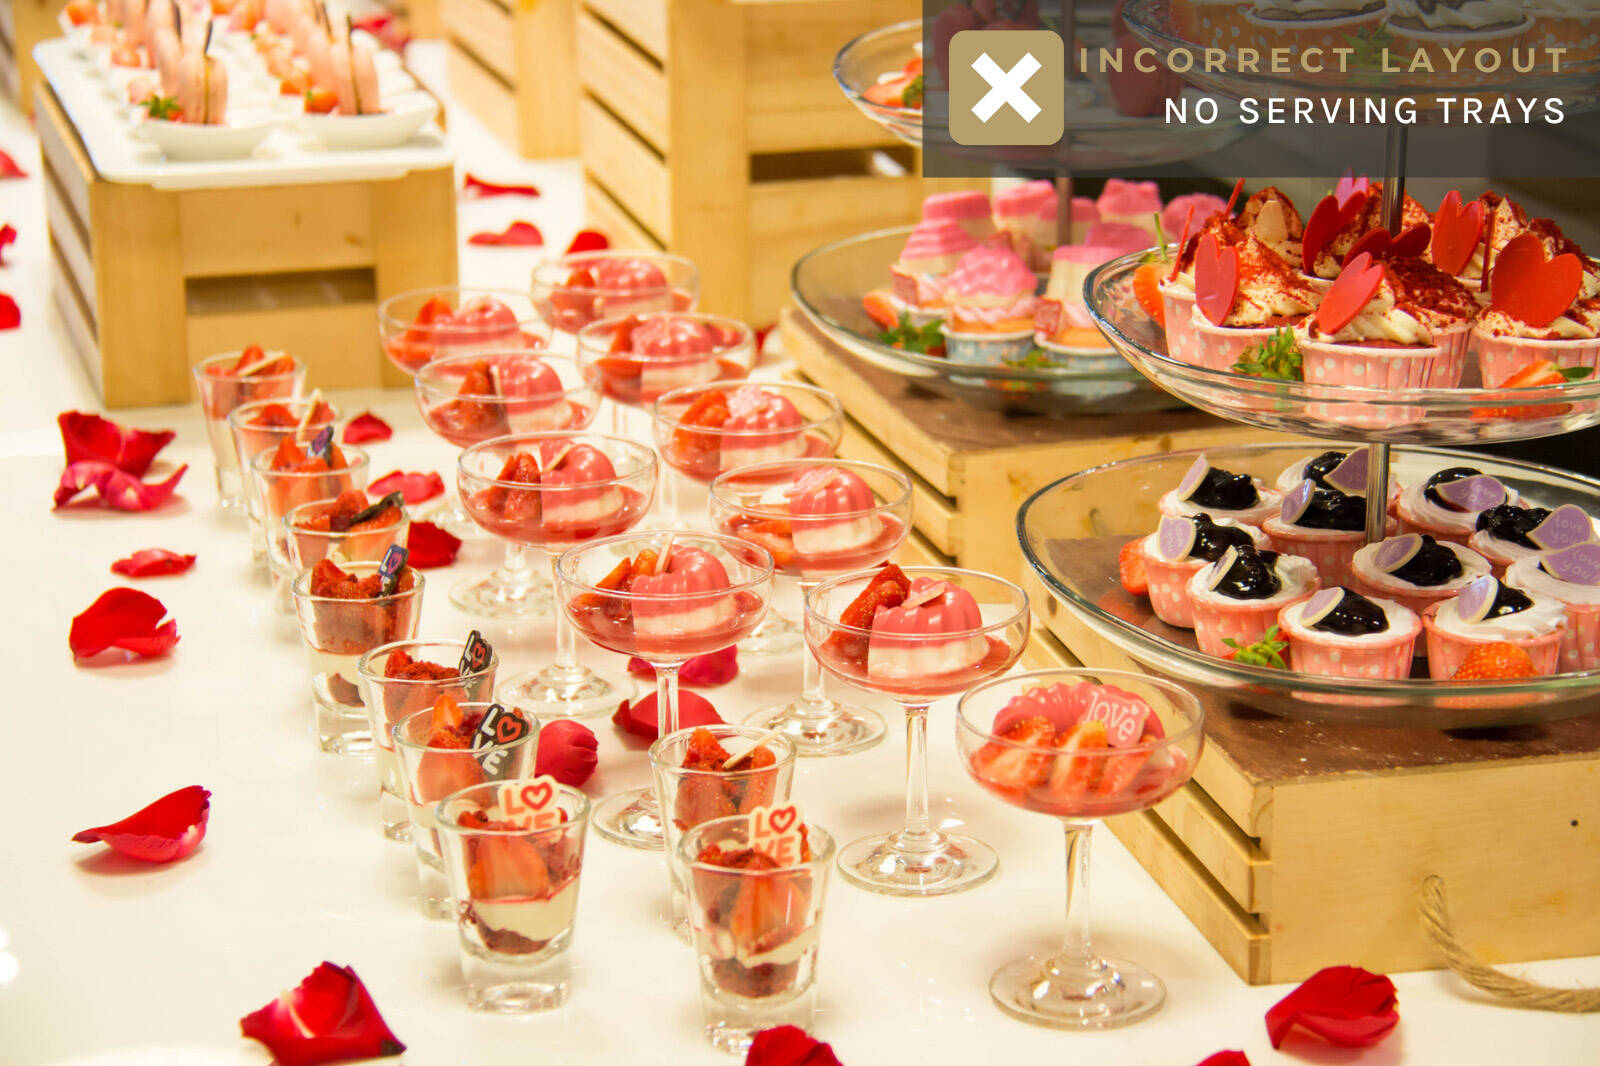
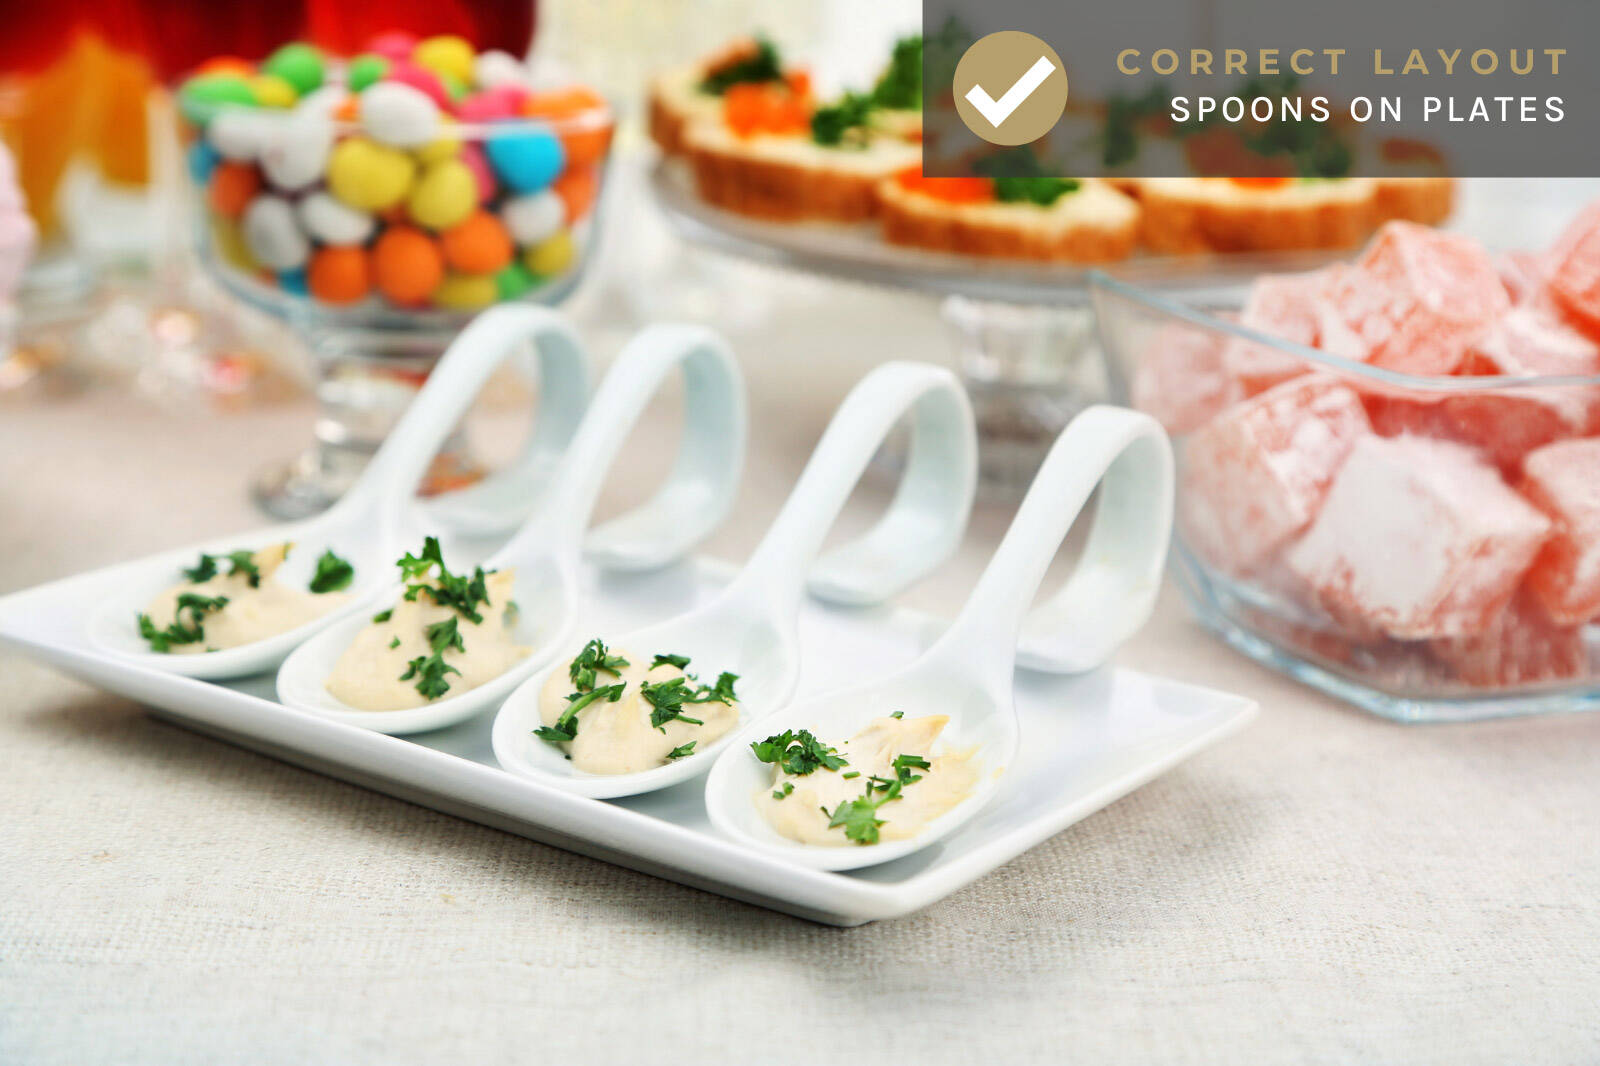
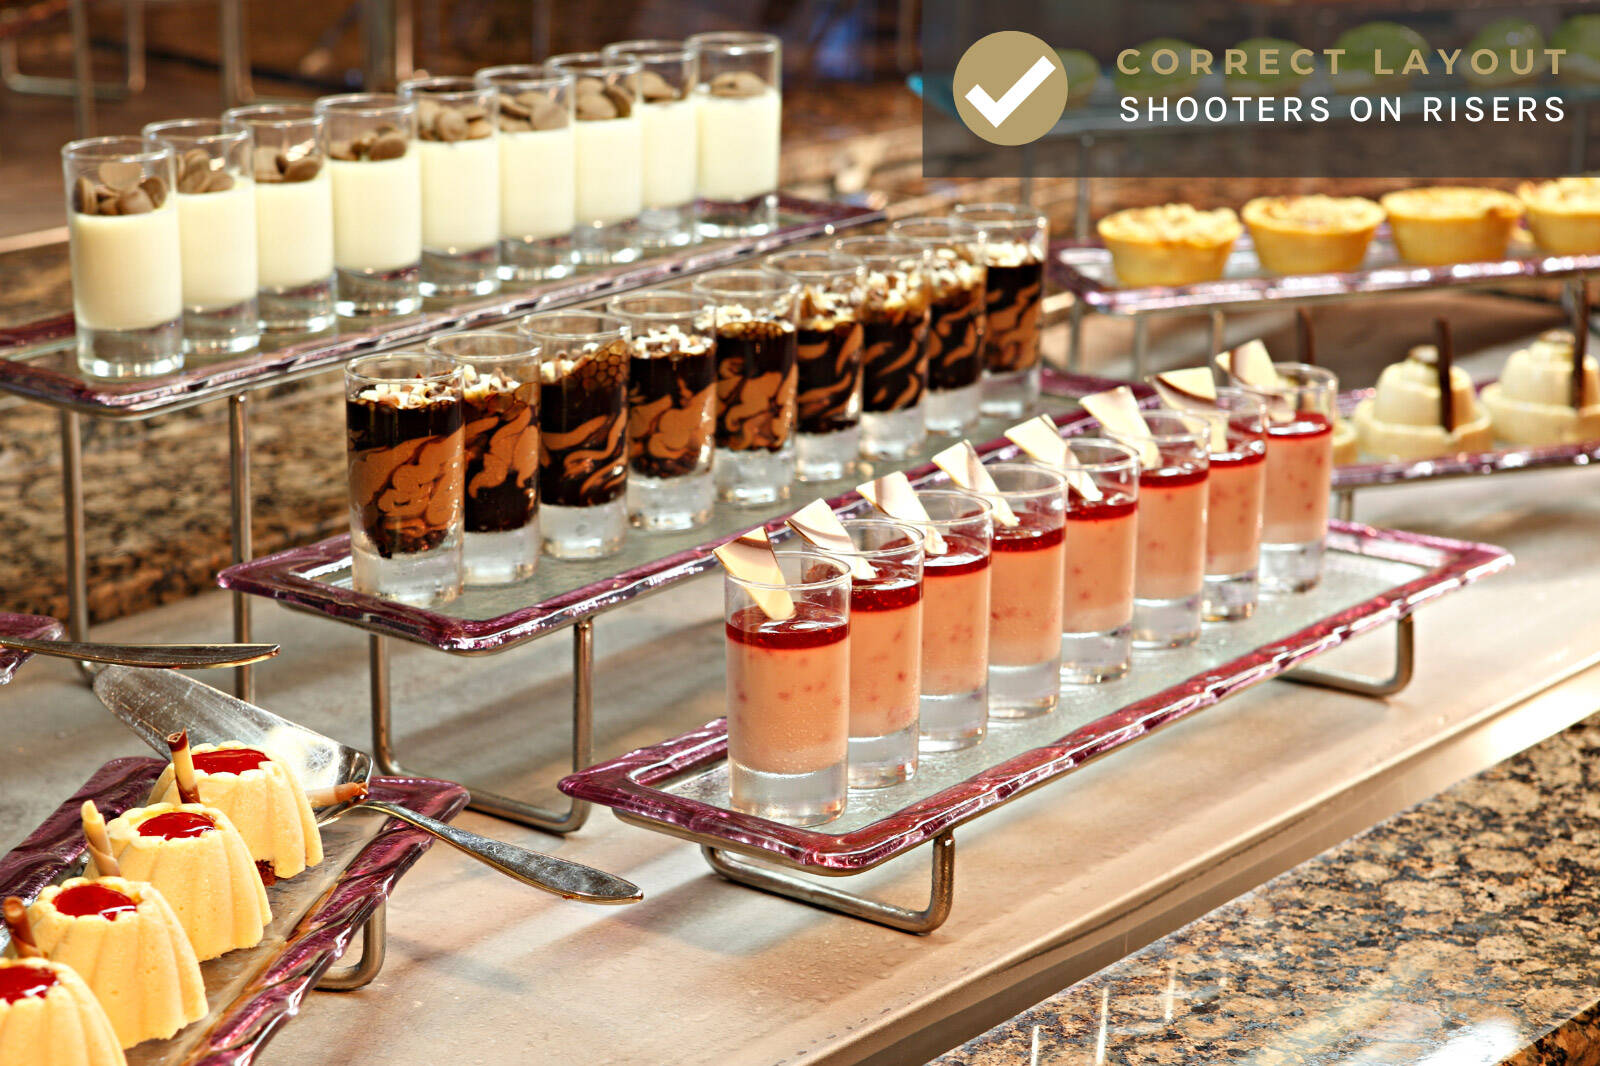
Never place individual serving containers directly onto the table top.
Whether it’s desserts served in disposable shooter glasses, dessert cups, mini mugs, tasting plates / bowls / spoons, milk bottles, martini glasses, or jars, always arrange these on serving plates, trays, display stands, or risers.
The easiest and most cost-effective way to do this is by using inexpensive, high quality, and stylish disposables plates and serving trays (see my post here).
Incorrect layout: never place individual containers on tabletop Shooter glasses served on trays. View more here. Tasting spoons arranged on serving plates. View here. Tasting bowls on serving plates. View more here. Glasses arranged on serving plates. View more here. Mini mugs arranged on serving plates. View more here. Shooter glasses arranged on risers. View more here. Shooter glasses arranged on serving plates. View more here.


step seven
dry items at back
Position dry treats on the back row.
You don’t want anything wet or runny that will create a mess if spilled (trust me, people WILL knock things over as they reach for them!).

step eight
front row knocks
Similarly, items in the front row are also prone to knocks from people standing too close to the table.
Avoid putting any tall or delicate treats here.
I recommend leaving a border at the front of the table several inches deep to act as a buffer.
You can always fill the gap with food tent labels to identify each dessert, tongs / spatulas for guests to pick up treats, or decorations, such as garlands, flowers, or personalized confetti.
step nine
place centerpiece
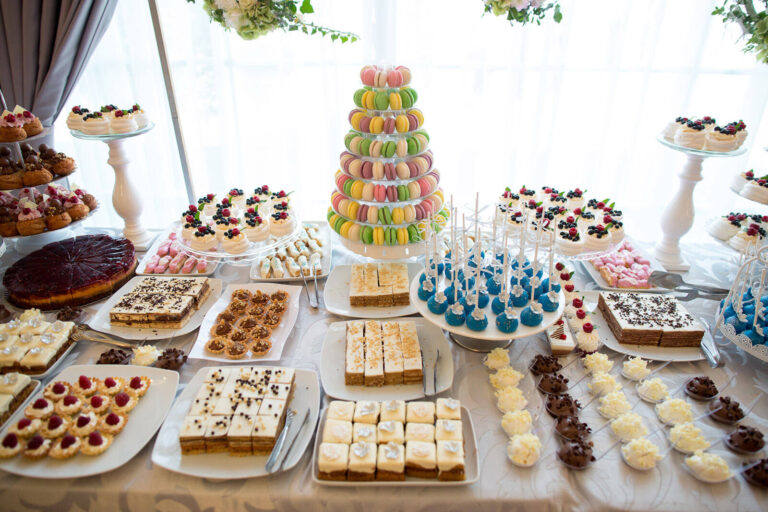
Once you have your rows marked out, place your centerpiece in the middle of the back row.
This might be a cake, raised up on a stand, with a tall topper for additional height, or a macaron tower (see my post here).
Alternatively, use a creative display piece, such as a personalized pinata, half body or life-size custom cutout, custom big head, giant number / letter balloons, photo collage sign, photo collage board, balloon boxes, balloon mosaic, large / small marquee letters and numbers, or photo collage numbers / letters.
step ten
work out from center
Work out from center and start placing each serving tray or display stand (mirroring it on the opposite end of the table if using a symmetrical layout), to gradually fill out each row.
I find positioning larger serving trays and display stands on the outside ends of the table, and the smaller ones closer to the center or along the front row, helps create a visual balance by ‘anchoring’ or ‘framing’ the table.
step eleven
expensive treats
If you’re using a one-way table configuration and are on a budget, put any expensive treats that you have fewer of towards the far end of the table.
It’s a common trick that restaurant buffets use so that diners’ plates are relatively full by the time they reach the more expensive options, resulting in them taking less of them.
step twelve
space at ends
Don’t worry if you have excess space at each end of the table.
Use it to display plates, napkins, and utensils, or decorate it with props, signage, or decorative items.
It’s far better to have space at the ends than for the display to be too spread out.

step thirteen
vary orientation
To help break up the rigid rows you initially plotted out, vary the orientation of some of the serving plates / trays.
By arranging some rectangular plates portrait style, with treats running front to back, and others landscape, with treats running side to side, it will cut across the rows and avoid a grid-like appearance.
Similarly, you can break up all the rows by mixing in some square or circular plates.
step fourteen
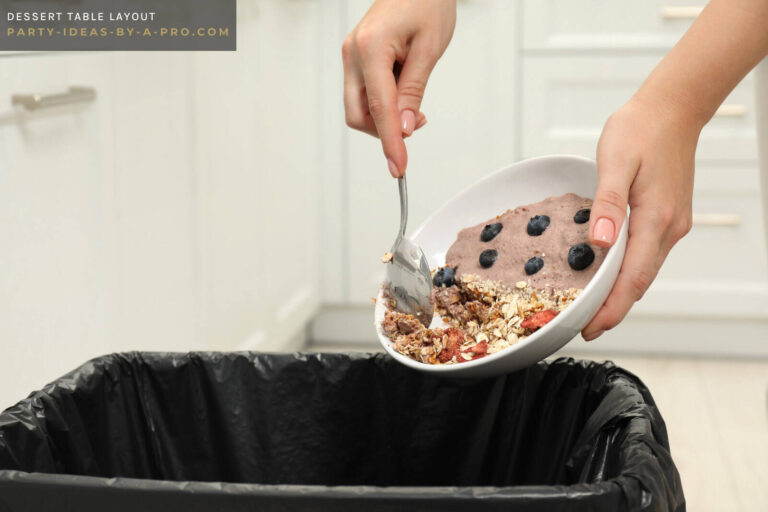
Trashcans
If you’re using disposable serving containers, such as mini plates, tasting cups, and shooter glasses, don’t forget to place trashcans at each end of the table (or nearby).
You’d be amazed by how many people will just put their used plates and utensils back on the dessert table once they’re done!
return to main page
more dessert table ideas
Hit the ‘Read More’ button below to check out my main page of dessert table ideas.


