continued from page 1
more dessert table layout ideas
in this section
02 groups, rows, and levels
summary
MATT’S TIPs

the idea
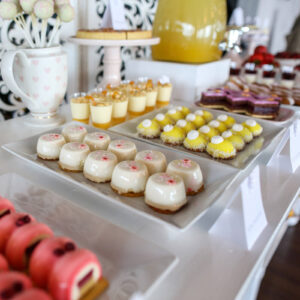
groups
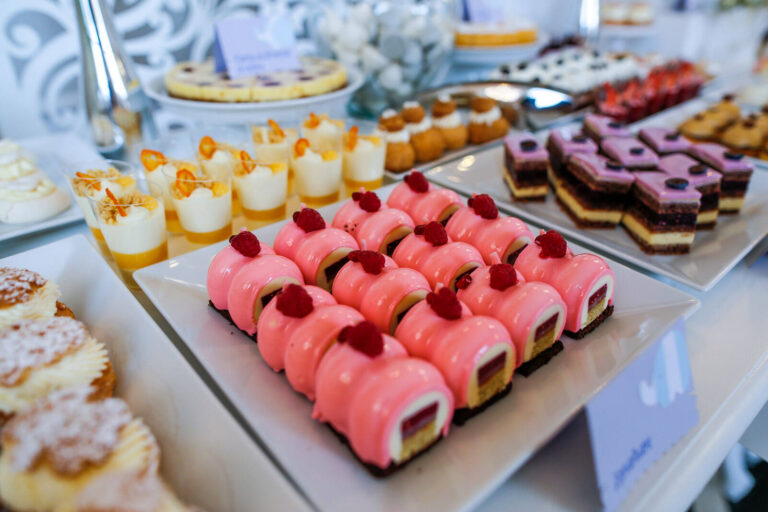
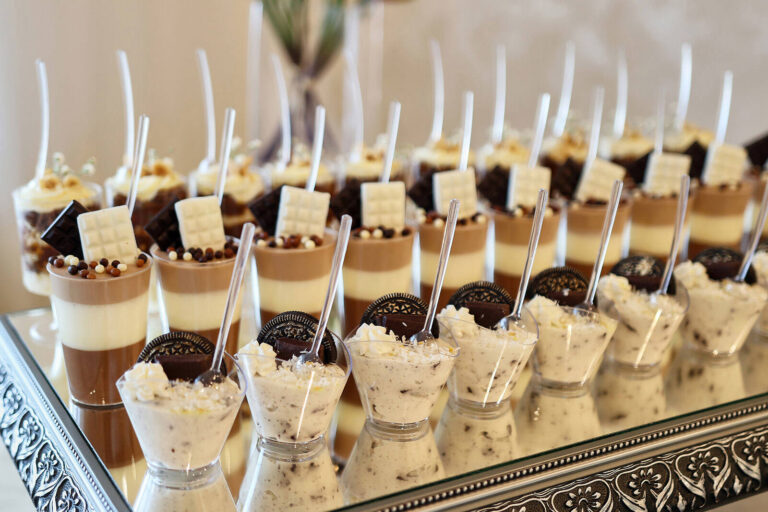
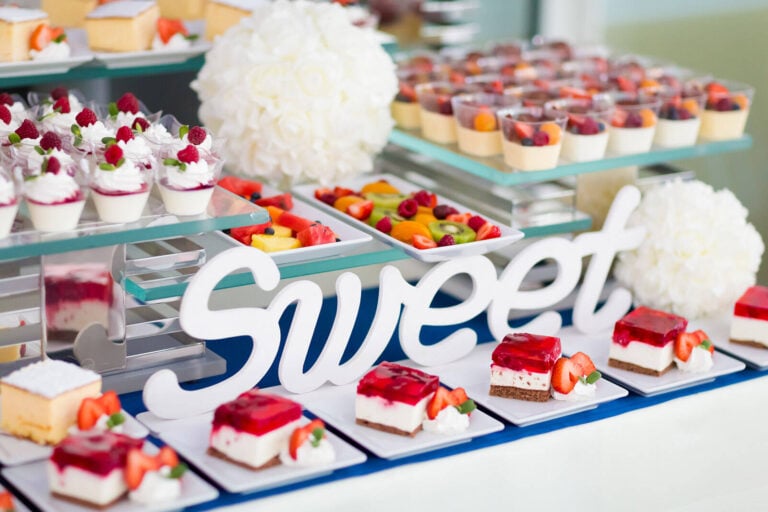
The reason most dessert tables styled by professional party planners look so stylish is that they abide by a few simple rules when it comes to the layout; groups, rows, and levels.
In this picture, you’ll notice that the treats are displayed in groups; one type of treat per serving tray.
It’s a simple rule but it instantly gives the dessert table a clean, defined, and well-ordered look.
You can easily recreate this effect by using inexpensive, high quality, and stylish disposables plates and serving trays (see my post here).
more presentation tips
Check out my separate page of dessert table presentation ideas for more ways to display treats in groups.

the idea
rows
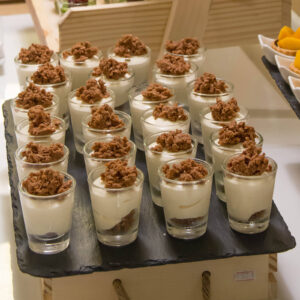
Then, on each serving plate, arrange treats in rows.
This not only lends a slick, modern, and professional appearance to the overall presentation, it also helps send subtle signals regarding portion size, so guests are more likely to take just one.
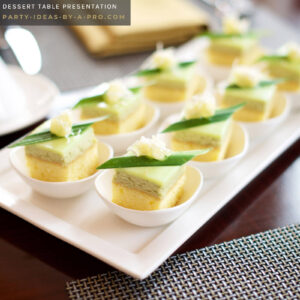
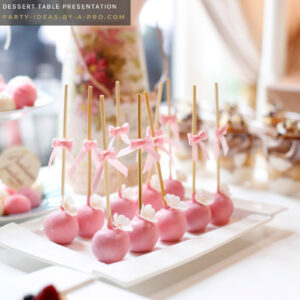
Some treats, such as macarons, cake pops, or fruit kebobs, can be laid out in rows directly onto serving plates and trays.
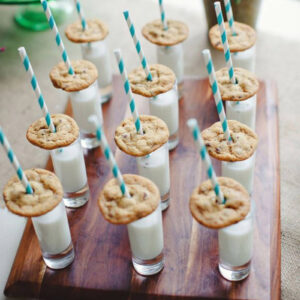
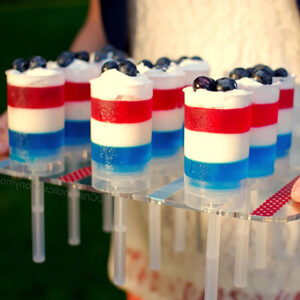
Others, such as puddings and cake, look best in individual serving containers, such as disposable shooter glasses, dessert cups, and jars, arranged in rows on serving plates.
Never place these individual serving containers directly onto the tabletop, always arrange them in rows on a serving plate or tray.
individual serving containers
Check out my dessert table presentation page below for individual serving containers that can be arranged in rows.


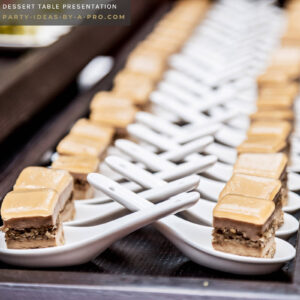
Small or expensive items, such as chocolate truffles, liquor-infused strawberries, or cake bites, can also be elevated by presenting on tasting spoons / forks, mini plates, or novelty treat containers and arranging in rows to make them feel more special.


the idea
levels
Finally, an absolute must, is to display treats on at least three different levels using a mix of flat plates, risers, and cake stands.
A dessert table should be a visual spectacle; you want guests to explore with their eyes and discover all the treats and details that have gone into the presentation.
Adding different heights and levels makes the eye work just a little bit harder to scan the table and try to take everything in, which adds to the sense of discovery.
Height is essential to a well-designed dessert table. Nothing looks worse than when serving trays are just laid out flat on the table.
display stands, props, & risers
Check out my dessert table display page for stands, props, and risers to add height to your dessert table layout.


You can also add additional height with your choice of serving container, such as serving treats in disposable martini glasses, push-up pop containers, or on forks and skewers standing upright.


ADVICE FROM A PRO
matt’s tip
continue to page 3
ARRANGING YOUR DESSERTS
Click on page 3 below for a step-by-step guide to arranging your dessert table treats.


